Bedroom or Bathroom Sauna: Where to Put Your Home Spa
You have decided a home sauna belongs in your master suite—now comes the harder question: bedroom or bathroom? Both placements promise a private, spa-like ritual, but they differ sharply in moisture control, spatial flow, and morning-versus-night usability. This guide walks through the real-world trade-offs so you can plan an installation that feels intentional rather than squeezed in.
Why the Bedroom vs. Bathroom Decision Matters
The choice between bedroom sauna placement and bathroom sauna placement shapes more than square footage. It affects how you use the sauna, how your home handles humidity, and how much professional work the project requires. A sauna tucked beside the bed encourages a wind-down evening routine; a sauna inside the bathroom integrates with showering and grooming but demands stronger ventilation and waterproofing. Understanding the historical roots of both approaches helps clarify what fits your household.
A Short History of the Home Sauna
Finnish residential tradition kept the sauna as a separate structure or a dedicated room near the washroom, not inside the sleeping area. The Japanese bathing flow—wash, soak, rest—also placed heat and steam near water sources. The modern American trend of a spa-like master suite sauna emerged from the late-20th-century home gym and wellness boom, when homeowners began converting spare bedrooms or oversized closets into private retreats. Today, a shielded home sauna cabin can sit in either zone, but the original logic still holds: bathroom placement leverages existing plumbing and drainage, while bedroom placement prioritizes relaxation and convenience.
Bedroom Sauna Placement: Pros, Cons, and Planning
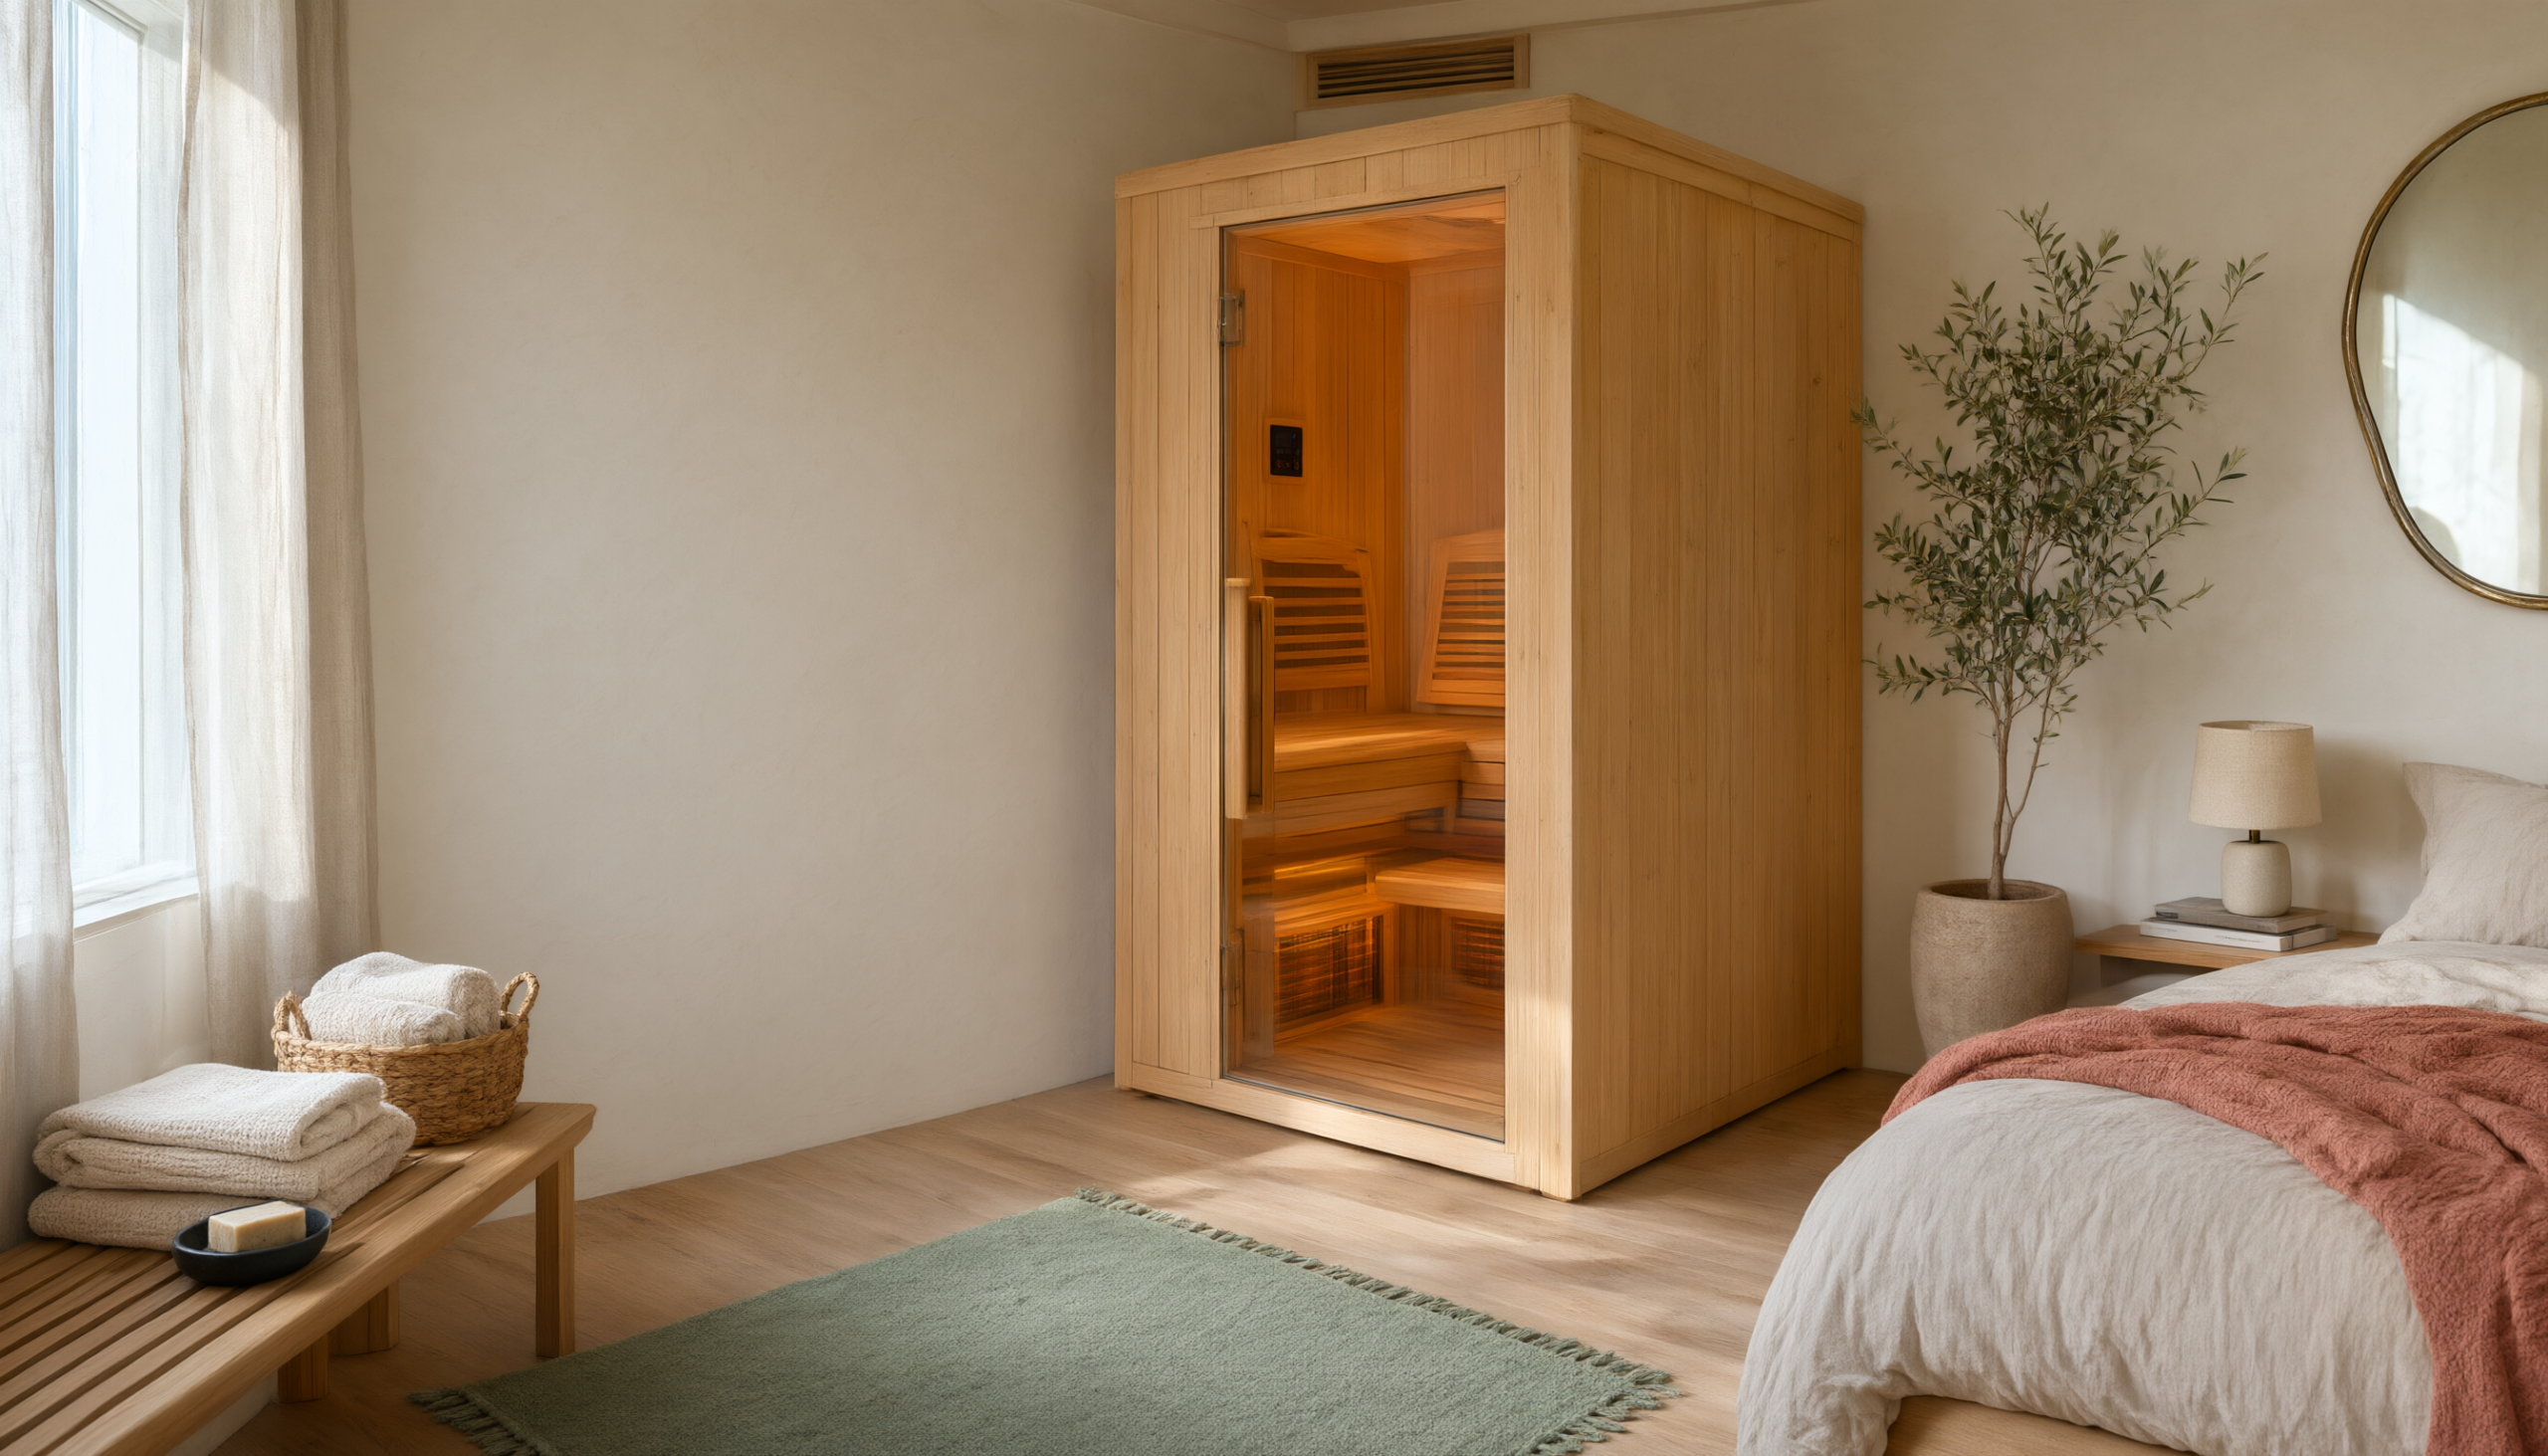
Putting a sauna in the bedroom—often in a sitting area, walk-in closet, or unused corner—feels luxurious and immediate. You can step out of bed and into warmth, then back to bed without crossing a cold hallway. But this placement introduces humidity and heat into a space designed for sleeping, which requires careful planning.
Space and Clearance for a Bedroom Sauna
A typical one- or two-person low-electromagnetic-field infrared unit needs a footprint of roughly 3 by 4 feet to 4 by 6 feet, plus clearance for the door swing and access to the power cord. Most manufacturers recommend at least 6 inches of clearance on all sides for air circulation, though some modern low-EMF far-infrared saunas can sit closer to walls if the vents are unobstructed. Measure the bedroom corner or closet nook before choosing a model. Remember that a sauna in a carpeted bedroom will sit on a moisture-resistant mat or a piece of cement board to protect the flooring from occasional drips.
Ventilation and Moisture Control
Bedrooms rarely have exhaust fans sized for a sauna session. Without ventilation, warm, moist air can condense on windows, walls, and bedding. The simplest fix is to install a small exhaust fan in the ceiling or wall near the sauna, vented to the outside. A window that opens also helps, but in cold climates that may not be practical year-round. Some homeowners add a dehumidifier to the bedroom during sauna season. Your HVAC contractor can confirm whether the existing system can handle the added moisture load.
Electrical Considerations
Most one-to-two-person infrared saunas plug into a standard 120-volt outlet, but larger units or traditional saunas may need a 240-volt dedicated circuit. Bedrooms often have limited outlet capacity, so an electrician may need to run a new circuit from the panel. Typical requirements often include a dedicated circuit for the sauna, with the outlet placed within reach of the unit’s cord but away from direct heat. Your electrician will verify local code requirements and ensure the circuit is properly grounded.
Bathroom Sauna Placement: Pros, Cons, and Planning
An ensuite sauna design places the unit inside the master bathroom, often near the shower or tub. This is the more traditional choice for a spa-like master suite sauna because the bathroom already has water-resistant surfaces, a floor drain, and an exhaust fan. You can go from sauna to shower in a few steps, which many users find more practical than a bedroom setup.
Waterproofing and Flooring
Bathrooms are built for moisture, but a sauna adds heat and steam beyond typical shower levels. The floor under the sauna should be level and waterproof—tile, concrete, or vinyl—not hardwood or carpet. If the bathroom floor is not perfectly level, a thin self-leveling underlayment may be needed before placing the sauna. The sauna itself is a sealed cabin, so water from inside the unit should not leak onto the floor, but condensation on the exterior can drip, especially in humid climates. A floor drain nearby is ideal but not required if you use a drip tray or mat.
Ventilation and Humidity
Bathroom exhaust fans are usually rated for shower steam, not continuous sauna heat. Most local codes will require a fan that moves at least 50 cubic feet per minute for a small bathroom, but a sauna may push that requirement higher. A fan with a humidity sensor or timer can run during and after the sauna session to clear excess moisture. If the bathroom has a window, opening it after use helps. Avoid placing the sauna directly under a ceiling vent that could drip condensation onto the unit.
Integration with Shower and Vanity
The best ensuite sauna design treats the sauna as part of a sequence: shower, sauna, cool-down, vanity. Place the sauna close to the shower but not so close that water splashes onto the electrical components. A gap of at least 12 inches between the sauna and the shower glass or curtain is a common rule of thumb. The sauna door should open away from the vanity or toilet to avoid blocking traffic. If space is tight, a corner unit can tuck neatly beside the shower.
Bedroom vs. Bathroom: A Direct Comparison
To decide between bedroom sauna placement and bathroom sauna, weigh these factors side by side. A bedroom sauna feels more indulgent and private, but it demands extra ventilation and floor protection. A bathroom sauna is more practical for daily use and easier to clean, but it may crowd an already busy room. Here is a quick comparison:
- Moisture management: Bathroom wins—existing waterproofing and exhaust fan handle humidity better.
- Convenience: Bedroom wins for nighttime use; bathroom wins for post-workout or morning routines.
- Electrical access: Bathroom often has a dedicated GFCI circuit; bedroom may need a new circuit run.
- Floor protection: Bathroom typically has tile or vinyl; bedroom carpet or hardwood needs a mat or board.
- Resale appeal: A well-integrated bathroom sauna may appeal to more buyers than a bedroom sauna, but both are niche features.
What to Avoid in Either Location
Common mistakes can turn a dream sauna into a moisture problem or an electrical hazard. Avoid these pitfalls:
- Ignoring ceiling clearance: A sauna needs at least 6 to 12 inches of air space above the unit for heat to dissipate. Low ceilings can trap heat and damage drywall.
- Placing the sauna on carpet or wood without protection: Even a small drip can warp flooring or breed mold. Always use a waterproof mat or cement board.
- Sharing a circuit with other appliances: A sauna should have its own dedicated circuit to avoid tripping breakers. Your electrician will confirm the correct amperage.
- Blocking the sauna door or vents: Leave at least 2 feet of clear space in front of the door for safe entry and exit, and keep side vents unobstructed.
Plan the sauna as a room within a room: treat its footprint, ventilation, and electrical needs as separate from the surrounding bedroom or bathroom, even when they share a wall.
How to Plan Your Sauna Placement Step by Step
A systematic approach prevents costly mistakes. Follow these steps before you buy or install any unit.
- Measure the space twice. Record the exact width, depth, and ceiling height of the intended corner or nook. Add 6 inches to each side for clearance and 12 inches above for heat dissipation.
- Check the electrical panel. Identify an available circuit or plan for a new one. A licensed electrician can tell you if your panel has capacity for a dedicated 120-volt or 240-volt line.
- Assess ventilation. Determine whether an exhaust fan, window, or dehumidifier will handle the moisture. In a bathroom, upgrade the fan if needed; in a bedroom, plan for a new vent or window use.
- Protect the floor. Choose a waterproof mat, cement board, or tile underlayment that extends at least 6 inches beyond the sauna footprint.
- Plan the path of use. Imagine stepping out of the sauna. Where will you cool down? Where will you hang a robe or towel? Keep that path clear of furniture and doors.
Pre-Installation Checklist
Use this checklist before the sauna arrives. It summarizes the key planning points for either bedroom or bathroom placement.
- Room dimensions and ceiling height recorded
- Electrical circuit capacity confirmed by electrician
- Ventilation plan in place (fan, window, or dehumidifier)
- Floor protection material selected and sized
- Clearance around sauna marked with painter’s tape
- Path from sauna to shower or cooling area clear
- Moisture-resistant mat or drip tray purchased
Which Placement Wins for Your Home?
There is no universal right answer, but a few patterns emerge. If your master bathroom is large and already has a powerful exhaust fan, an ensuite sauna design is the most practical route. If your bedroom has an unused sitting area or oversized closet and you value a quiet wind-down ritual, a bedroom sauna placement can work beautifully—provided you address ventilation and floor protection. For many homeowners, the deciding factor is the existing electrical setup: a bathroom with a spare GFCI circuit may be ready now, while a bedroom may require a new line. Talk to a licensed electrician before committing to either spot.
At yardsauna.net, we have seen homeowners succeed with both placements, often by treating the sauna as a piece of furniture that happens to need power and air. The key is planning the room around the sauna, not the sauna around the room.
Frequently Asked Questions
Can I put an infrared sauna in a bedroom with carpet?
Yes, but you must protect the carpet. Place a waterproof mat or a piece of cement board under the sauna, extending at least 6 inches beyond the footprint. Also ensure the room has ventilation to prevent moisture from settling into the carpet fibers.
Does a bathroom sauna need a floor drain?
A floor drain is not strictly required for a self-contained infrared sauna, but it is helpful for cleaning and for catching condensation drips. If no drain is present, use a drip tray or mat under the unit and wipe down the exterior after each session.
What size sauna fits in a typical master bathroom?
A one-person infrared sauna often has a footprint around 3 by 3 feet, while a two-person unit may be 4 by 4 feet or larger. Measure your available floor space and allow at least 6 inches of clearance on all sides. Many manufacturers list the exact exterior dimensions for each model.
Ultimately, the bedroom-versus-bathroom decision comes down to how you want the sauna to fit your daily rhythm. A bathroom sauna supports a wash-and-sweat routine; a bedroom sauna supports a rest-and-recover routine. Both can feel like a private spa—if you plan the moisture, power, and clearance before the unit arrives.
This article is for general informational purposes only and does not substitute for advice from a licensed contractor, licensed electrician, structural engineer, or local building official. Site conditions, climate, and code requirements vary; always have a qualified professional review your specific installation before you finalize plans, place equipment, or modify structural, electrical, or plumbing systems.