Compact Sauna Placement: Where to Put a 1-Person Infrared Sauna
Finding the right spot for a compact 1-person infrared sauna can feel like a puzzle, but it is one worth solving. A well-placed sauna becomes a daily retreat, while a poorly placed one gathers dust. This guide walks you through the key factors—space, ventilation, electrical access, and comfort—so you can choose a location that works for your home and your routine.
Why Placement Matters for a Compact Infrared Sauna
Infrared saunas are more forgiving than traditional steam saunas when it comes to placement. They do not require plumbing, and they operate at lower temperatures, which reduces moisture concerns. However, placement still affects safety, convenience, and how often you actually use the sauna. A sauna tucked in a dark, cramped corner may be easy to ignore, while one placed in a comfortable, accessible spot becomes part of your wellness ritual.
For a compact 1-person model, the footprint is small—typically around 3 feet by 3 feet—but you need to account for clearance around the unit, door swing, and access to the control panel and heater vents. You also need to think about the path from the sauna to a shower or changing area, because you will be sweaty when you step out.
Placement also impacts the sauna’s performance. Infrared heaters warm your body directly, so the surrounding air temperature matters less than in a traditional sauna. Still, a cold, drafty location can make the experience less pleasant and force the heaters to work harder. A stable, moderate environment helps the sauna reach its operating temperature efficiently.
Finally, electrical access is a practical constraint. Most compact infrared saunas plug into a standard 120V outlet, but that outlet should be on a dedicated circuit to avoid tripping breakers. The location you choose must have an outlet within reach of the sauna’s power cord, or you will need to run an extension cord—which is not recommended for a high-wattage appliance.
Space Requirements for a 1-Person Infrared Sauna
A 1-person infrared sauna is designed to fit into tight spaces, but you still need to plan for more than just the unit’s dimensions. The sauna itself may be 36 inches wide and 36 inches deep, but you need clearance on all sides for assembly, ventilation, and access to the rear panel if maintenance is ever needed.
As a rule of thumb, allow at least 6 inches of clearance on the sides and back, and 24 to 36 inches in front for the door to open comfortably. If the sauna has a hinged door, it will swing outward, so you need enough room to step in and out without bumping into walls or furniture. Some compact models have a sliding door, which saves space but still requires room to stand beside the opening.
Ceiling height is another consideration. Most home saunas are around 75 inches tall, which fits under standard 8-foot ceilings. However, if you are placing the sauna in a basement with a drop ceiling or in a room with a sloped ceiling, measure carefully. You need at least a few inches of clearance above the sauna for heat to dissipate and for the ventilation system to work properly.
Think about the surrounding area too. You will want a small table or bench nearby for a towel, water bottle, and phone. A rug or mat outside the door helps catch sweat drips and protects your floor. If you plan to use the sauna for chromotherapy or red light therapy, you may want dimmable lighting or a place to sit quietly afterward.
Measuring Your Space
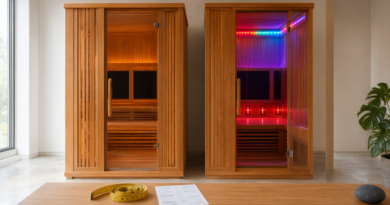
Before you buy, take precise measurements of the room where you plan to put the sauna. Use a tape measure to mark out the footprint on the floor with painter’s tape, including the door swing and clearance zones. This simple step can prevent a costly mistake. Walk around the taped area to make sure you can move freely and that the sauna will not block a walkway or vent.
Also check the doorway and hallway leading to the room. The sauna will arrive in a large, heavy box, and you need to move it into place. Measure the width of every door, hallway, and stairwell along the path. Most compact saunas are shipped in panels, so the individual boxes are manageable, but the assembled unit will not fit through a narrow door if you ever need to move it.
If you are placing the sauna on an upper floor, consider the weight. A 1-person sauna can weigh 200 to 300 pounds when assembled, plus the weight of the person inside. Most residential floors can handle this, but it is worth checking if you have an older home or a floor with a long span. When in doubt, consult a structural engineer or place the sauna on a ground-level floor.
Best Rooms for a Compact Sauna
The ideal room for a sauna is one that is private, comfortable, and close to a bathroom or shower. Here are the most common options, along with their pros and cons.
Bedroom
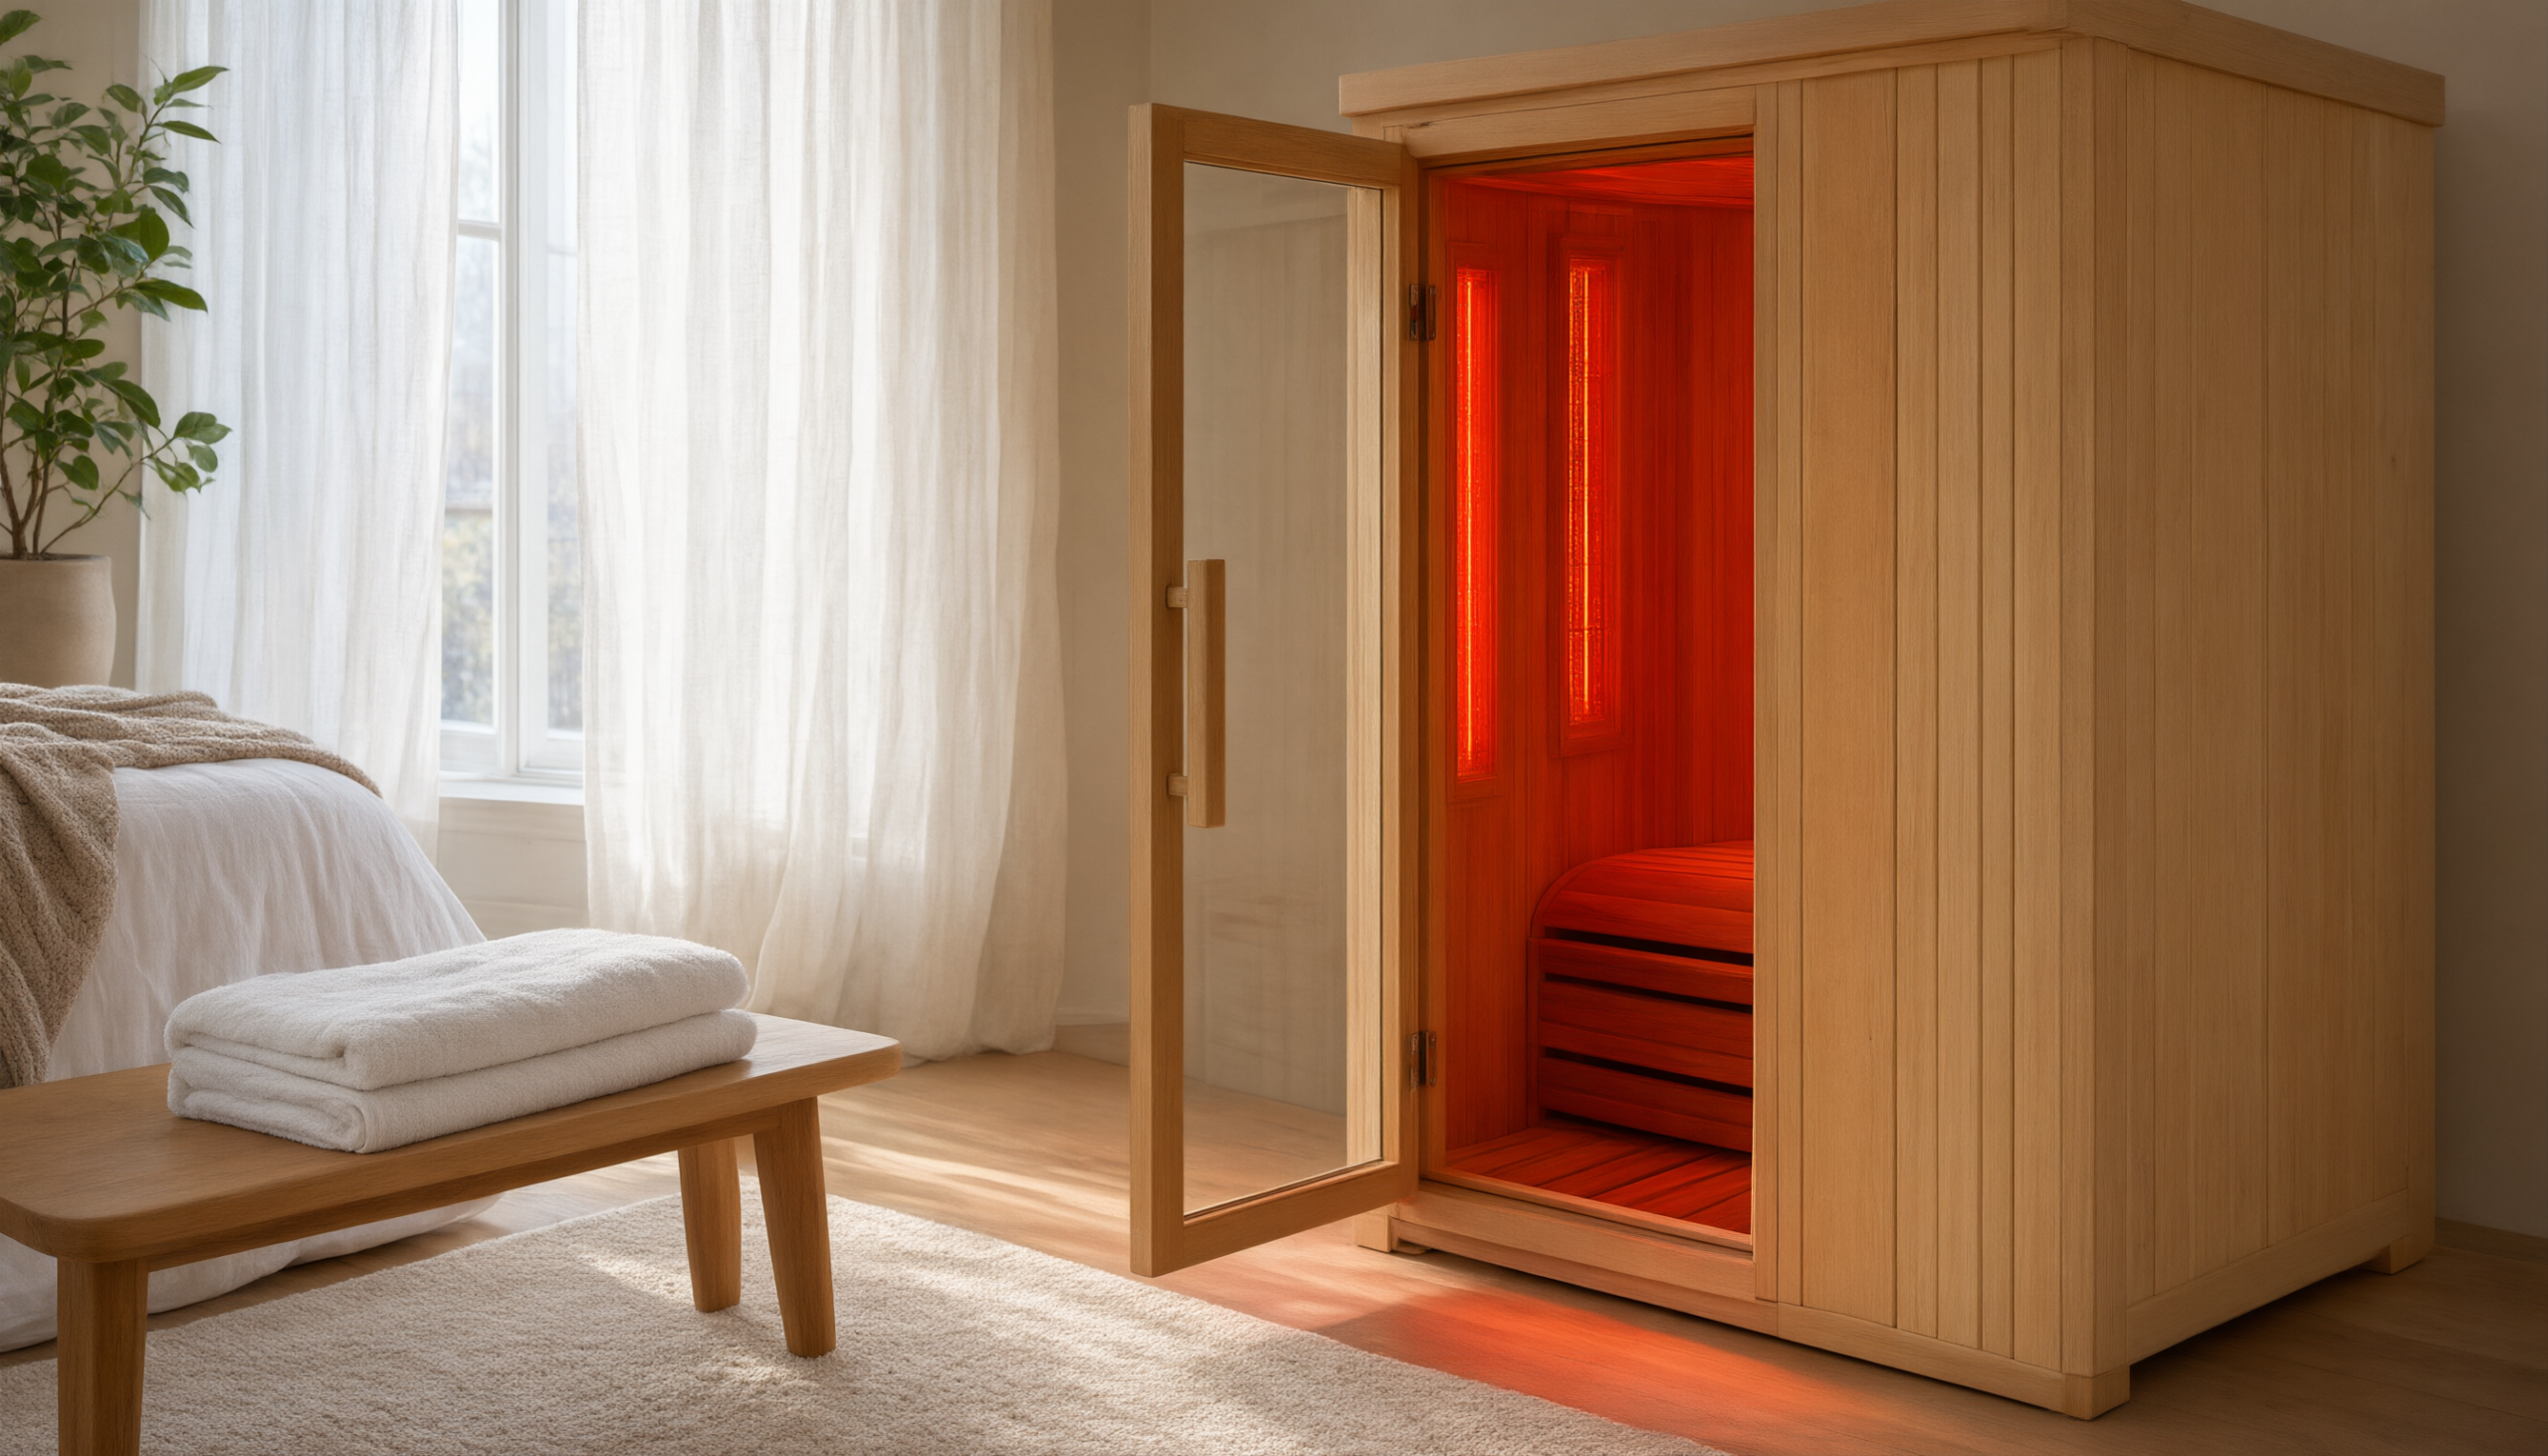
A bedroom is a popular choice because it offers privacy and a relaxing atmosphere. You can step out of the sauna and directly into bed, which is perfect for evening sessions that promote relaxation. The main drawback is that bedrooms are often carpeted, and sweat can damage carpet over time. Place a waterproof mat under and around the sauna to protect the floor. Also make sure the room has adequate ventilation, because the sauna will release some heat and moisture into the air.
Home Gym or Exercise Room
If you have a dedicated workout space, adding a sauna creates a complete recovery zone. After a workout, you can move from the treadmill to the sauna without leaving the room. This setup encourages a consistent routine. The gym floor is often rubber or concrete, which is easy to clean and resistant to moisture. Just be sure the sauna is not placed directly under a ceiling fan or air vent, as the draft can make the sauna feel cooler than it should.
Basement
Basements are a natural fit for saunas because they are usually cool, quiet, and out of the way. The concrete floor can handle the weight and any minor moisture. However, basements can be damp, which may affect the wood over time. Use a dehumidifier if needed, and place the sauna on a moisture barrier if the floor is prone to seepage. Also check that the basement has a suitable electrical outlet and enough ceiling height.
Bathroom (Adjacent or Walk-In Closet)
A bathroom adjacent to the sauna is ideal for showering before and after sessions. Some homeowners convert a large walk-in closet into a sauna nook, which keeps the sauna hidden and preserves the bedroom’s aesthetics. If you place the sauna in a bathroom, ensure the room is well-ventilated and that the sauna is not exposed to direct water spray. The sauna is an electrical appliance and should never be placed inside a shower enclosure.
Garage or Covered Patio
While less common for indoor saunas, a garage or covered patio can work if the space is insulated and protected from the elements. The sauna should not be exposed to rain, snow, or extreme temperatures. If you place it in a garage, make sure the floor is level and the area is free of flammable materials. Also consider that you will need to walk from the garage into the house after your session, which may be inconvenient in cold weather.
Ventilation and Airflow Considerations
Infrared saunas do not produce steam, but they do generate heat and some moisture from your sweat. Proper ventilation prevents the room from becoming stuffy and helps the sauna operate efficiently. Most infrared saunas have built-in vents that allow fresh air to enter and warm air to escape. You should never block these vents.
If the sauna is placed in a small, enclosed room, open a window or door during and after your session to let fresh air circulate. A small exhaust fan can also help remove excess heat and humidity. In a larger room, natural air movement is usually sufficient, but avoid placing the sauna in a dead corner with no airflow.
Pay attention to the sauna’s own ventilation system. Many models have adjustable vents that you can open or close depending on your comfort. In a cool room, you may want to keep the vents partially closed to retain heat. In a warm room, open them fully to prevent overheating. The goal is to maintain a comfortable temperature inside the sauna without making the surrounding room uncomfortable.
If you place the sauna in a carpeted room, consider using a chair mat or a piece of plywood under the sauna to protect the carpet from compression and moisture. A waterproof mat in front of the door is also a good idea. These small additions can extend the life of your floor and make cleanup easier.
Electrical Requirements and Safety
Most 1-person infrared saunas are designed to plug into a standard 120V household outlet. However, the sauna draws a significant amount of power—often 10 to 15 amps—so it should be on a dedicated circuit. Sharing a circuit with other appliances can trip the breaker and potentially damage the sauna’s electronics.
Before you choose a location, check the electrical panel to see if there is a spare circuit available. If not, you may need to have an electrician install a new outlet. This is a relatively simple job, but it adds to the overall cost. Never use an extension cord with a sauna, as it can overheat and create a fire hazard.
The outlet should be located within a few feet of the sauna’s power cord, but not directly behind the sauna where it could be pinched. Ideally, the outlet is on a side wall, so you can easily unplug the sauna when not in use. Some homeowners prefer to install a dedicated outlet with a switch, so they can cut power without unplugging.
Ground fault circuit interrupter (GFCI) protection is recommended for any outlet near moisture, such as in a bathroom or basement. Check your local electrical codes to see what is required. If you are unsure, consult a licensed electrician. Safety should always come first when dealing with high-wattage appliances.
Step-by-Step: Preparing Your Electrical Setup
- Check the sauna’s electrical specifications. Look in the owner’s manual or on the manufacturer’s website for the exact voltage, amperage, and plug type. Most compact saunas use a standard 3-prong plug, but confirm before you buy.
- Locate a suitable outlet. Find an outlet that is on a dedicated circuit or can be easily dedicated. The outlet should be within 6 feet of where the sauna will sit, and it should not be behind the sauna.
- Test the circuit. Plug a lamp or small appliance into the outlet and turn on other devices on the same circuit to see if the breaker trips. If it does, you need a different circuit.
- Install a dedicated outlet if needed. Hire a licensed electrician to run a new circuit and install an outlet in your chosen location. This typically costs a few hundred dollars but ensures safe operation.
- Add GFCI protection if required. If the outlet is in a bathroom, basement, or other damp location, install a GFCI outlet or breaker.
- Test the sauna before final placement. Plug in the sauna and run it for a few minutes to make sure the outlet works and the breaker does not trip.
Following these steps will help you avoid electrical problems down the road. A dedicated circuit not only prevents tripped breakers but also protects the sauna’s sensitive electronics from voltage fluctuations.
Common Mistakes to Avoid When Placing Your Sauna
Even with the best intentions, homeowners make placement mistakes that lead to frustration. Here are the most common pitfalls and how to avoid them.
1. Ignoring Door Swing and Clearance
It is easy to forget that the sauna door needs room to open. If the door swings outward and you place the sauna too close to a wall or furniture, you will not be able to get in. Always check the door swing direction and allow at least 24 inches of clear space in front.
2. Blocking the Sauna’s Vents
The sauna’s ventilation system needs airflow to work properly. Placing the sauna flush against a wall or covering the vents with a towel can cause overheating and reduce the sauna’s lifespan. Leave at least 6 inches of space on all sides, and never block the vents.
3. Using an Extension Cord
Extension cords are not designed for continuous high-wattage loads. They can overheat, melt, and start a fire. Always plug the sauna directly into a wall outlet on a dedicated circuit.
4. Placing the Sauna on Uneven Flooring
An uneven floor can cause the sauna panels to shift and the door to misalign. Use shims to level the sauna if necessary, and make sure the floor can support the weight.
5. Forgetting About Moisture
Even though infrared saunas do not produce steam, you will sweat. If the sauna is on carpet, the moisture can soak in and cause mold or mildew. Use a waterproof mat and clean up any spills promptly.
6. Choosing a Location That Is Too Hot or Too Cold
Extreme temperatures can affect the sauna’s performance and your comfort. Avoid placing the sauna in direct sunlight, next to a furnace, or in an unheated garage. A stable room temperature between 60 and 80 degrees Fahrenheit is ideal.
How a Compact Infrared Sauna Works: The Mechanism Behind the Heat
Understanding how an infrared sauna heats your body can help you appreciate why placement matters. Unlike traditional saunas that heat the air around you, infrared saunas use infrared light to warm your body directly. This is the same type of radiant heat you feel from the sun, but without the harmful ultraviolet rays.
Infrared heaters emit electromagnetic waves that penetrate the skin and heat the body’s tissues. Because the heat is absorbed directly, the air temperature inside the sauna can remain relatively low—typically between 110 and 140 degrees Fahrenheit—while still producing a deep, satisfying sweat. This makes infrared saunas more comfortable for longer sessions and more energy-efficient than traditional saunas.
A compact 1-person sauna typically uses a combination of heating elements. The YardSauna Forest 1-Person Infrared Sauna, for example, features rapid-heating quartz elements and ultra-low EMF carbon panels. The quartz elements provide quick, intense heat, while the carbon panels offer a broader, more even distribution. This full-spectrum approach ensures that your entire body receives consistent warmth.
In addition to the main heaters, many compact saunas include a floor foot heater. The YardSauna Forest has a tourmaline-enriched floor foot heater that warms your feet and lower legs, which are often neglected in cheaper models. This even heat from feet to core enhances the overall experience and helps you sweat more uniformly.
Because the sauna heats your body directly, the surrounding room temperature has less impact on the sauna’s effectiveness. However, a cold draft can still make you feel chilly on the side of your body facing away from the heaters. That is why placing the sauna in a draft-free area is important for comfort.
The sauna’s control system allows you to adjust the temperature and session duration. Most models have a digital touch controller that lets you set the desired temperature and timer. Some also include Bluetooth speakers, LED lighting, and chromotherapy options. These features enhance the experience but do not affect the core heating mechanism.
Proper ventilation is part of the mechanism too. As your body heats up, you sweat, and that moisture evaporates into the air. The sauna’s built-in ventilation system helps remove excess humidity and bring in fresh air, preventing the interior from becoming stuffy. A well-placed sauna with good airflow will feel more comfortable and be more effective.
Practical Tips and a Placement Checklist
Before you commit to a spot, run through this checklist to make sure you have covered all the bases. This will save you time and prevent costly mistakes.
- Measure twice, buy once. Confirm the sauna’s dimensions and your room’s dimensions, including doorways and ceiling height.
- Check the floor. Ensure the floor is level, sturdy, and moisture-resistant. Use a mat if needed.
- Plan for clearance. Allow 6 inches on the sides and back, and 24-36 inches in front for the door.
- Verify electrical access. Locate a dedicated 120V outlet within reach, and avoid extension cords.
- Assess ventilation. Make sure the room has adequate airflow and that the sauna’s vents will not be blocked.
- Consider privacy and comfort. Choose a spot where you can relax without interruptions, and where the temperature is stable.
- Protect the floor. Use a waterproof mat under and around the sauna to catch sweat and prevent damage.
- Plan for assembly. Ensure you have enough room to assemble the sauna in place, or assemble it nearby and move it carefully.
Following this checklist will help you choose a location that is safe, convenient, and conducive to regular use. Remember, the best spot is one that you will actually use.
Buyer Considerations: What to Look for in a Compact Sauna
When shopping for a 1-person infrared sauna, placement should be part of your decision from the start. Here are the key features to consider, and how they relate to where you will put the sauna.
Size and footprint. A true 1-person sauna should be compact enough to fit in a spare corner, but not so small that you feel cramped. Look for a model with a footprint around 3 feet by 3 feet, which fits most bedrooms, home gyms, and basements.
Heating technology. Full-spectrum heaters—combining near, mid, and far infrared—provide the most comprehensive warmth. The YardSauna Forest, for example, uses quartz elements for rapid heating and carbon panels for even distribution. This dual approach ensures you do not have cold spots.
EMF levels. Electromagnetic fields (EMF) are a concern for some sauna users. Look for a sauna with low EMF ratings, especially if you plan to use it daily. The YardSauna Forest is designed with ultra-low EMF carbon panels, which is a plus for those who are sensitive to EMF.
Foot heater. Many budget saunas lack a foot heater, leaving your feet cold while your upper body sweats. A tourmaline-enriched floor foot heater, like the one in the YardSauna Forest, ensures even heat from feet to core. This is a feature worth paying for.
Materials and build quality. The sauna should be made from non-toxic, durable wood like Canadian Hemlock. Hemlock is naturally resistant to moisture and does not off-gas harmful chemicals. Check that the sauna is certified by UL, ETL, or CE for safety.
Assembly. Most compact saunas are designed for DIY assembly with tongue-and-groove panels. The YardSauna Forest can be assembled by two adults in 45-60 minutes, which is manageable for most homeowners. Make sure you have enough space to assemble the sauna in its final location, or a clear path to move it after assembly.
Extra features. Bluetooth speakers, LED lighting, and chromotherapy can enhance the experience, but they are not essential. Consider what matters most to you and how the sauna will fit into your routine.
By keeping these factors in mind, you can choose a sauna that not only fits your space but also meets your wellness goals. The right placement and the right sauna go hand in hand.
Real-World Examples: How Homeowners Place Their Compact Saunas
To give you a better idea of what works, here are a few real-world scenarios from homeowners who have successfully integrated a compact sauna into their homes.
Example 1: The Bedroom Retreat. Sarah, a busy professional, placed her 1-person sauna in the corner of her master bedroom, next to a large window. She used a waterproof mat to protect the carpet and added a small bench for towels. The sauna’s gentle heat helps her unwind before bed, and the proximity to her closet makes it easy to change. She keeps the window cracked during sessions for ventilation.
Example 2: The Basement Wellness Corner. Mike and Jen converted a corner of their finished basement into a wellness area. They placed the sauna on a rubber gym floor, added a dehumidifier, and installed a dedicated outlet. The cool basement air makes the sauna’s warmth feel even more inviting, and they use it after workouts in their home gym.
Example 3: The Garage Conversion. Tom, an avid DIYer, insulated a section of his garage and placed his sauna there. He ran a dedicated circuit and added a small exhaust fan to the wall. While the walk from the garage to the house is a bit chilly in winter, he finds the sauna sessions so enjoyable that he does not mind.
These examples show that with a little planning, a compact sauna can fit into almost any home. The key is to choose a location that aligns with your lifestyle and to address the practical concerns of ventilation, electricity, and floor protection.
Pros and Cons of Different Placement Options
To help you weigh your options, here is a quick comparison of the most common placement choices.
There is no single best place for a sauna—only the best place for you. Consider your daily routine, the layout of your home, and how much effort you are willing to put into setup and maintenance. A sauna that is easy to use will be used often.
Bedroom: Pros: privacy, relaxation, close to bed. Cons: carpet concerns, potential for moisture buildup, may need extra ventilation.
Home gym: Pros: convenient for post-workout recovery, easy-to-clean floors. Cons: may be drafty if near fans, limited space if gym is small.
Basement: Pros: cool, quiet, out of the way, sturdy floor. Cons: potential dampness, need for dehumidifier, may feel isolated.
Bathroom or closet: Pros: easy shower access, hidden from view. Cons: moisture and electrical safety concerns, limited space.
Garage or patio: Pros: frees up indoor space, good ventilation. Cons: temperature extremes, security concerns, inconvenient access.
Think about which pros matter most to you and which cons you can mitigate. For most people, the bedroom or basement offers the best balance of privacy, comfort, and practicality.
Maintenance Considerations by Location
Where you place your sauna can affect how much maintenance it needs. A sauna in a damp basement may require more frequent cleaning to prevent mold, while one in a dusty garage may need more dusting. Here are some location-specific maintenance tips.
Bedroom or living area: Vacuum or sweep around the sauna regularly to prevent dust buildup. Wipe down the interior with a damp cloth after each use to remove sweat. Keep a towel inside to sit on, and wash it frequently.
Basement: Run a dehumidifier to keep humidity levels below 50%. Check for any signs of moisture on the sauna’s exterior, especially near the floor. If you notice condensation, improve ventilation.
Garage: Dust the sauna’s exterior and vents monthly. Check for pests that might nest in the warm interior. If the garage is not insulated, consider adding insulation around the sauna to maintain a stable temperature.
Bathroom: Ensure the bathroom fan is working properly and run it during and after sauna sessions. Wipe down the sauna’s exterior if it gets splashed. Never use the sauna while the shower is running, as steam can damage the electronics.
Regular maintenance extends the life of your sauna and keeps it looking and smelling fresh. A little care goes a long way.
How to Move a Sauna After Assembly
Sometimes, despite your best planning, you need to move the sauna to a different room. Moving an assembled sauna is possible but requires care. Here is a step-by-step guide.
- Unplug the sauna and let it cool completely.
- Remove any loose items from inside, such as towels, water bottles, and the control remote.
- Check the door to make sure it is securely latched or remove it if it swings freely.
- Enlist help. A 1-person sauna can weigh over 200 pounds, so you need at least two strong people.
- Use furniture sliders or a dolly to slide the sauna across the floor. Protect the floor with cardboard or a moving blanket.
- Lift carefully if you need to go over thresholds or stairs. Never tilt the sauna more than 45 degrees, as this can damage the heaters.
- Re-level the sauna in its new location using shims if necessary.
- Plug it in and test it before using.
Moving a sauna is not difficult, but it is time-consuming. It is worth taking the time to choose the right location the first time.
Final Thoughts: Placing Your Compact Sauna for Long-Term Enjoyment
Choosing the right spot for your compact infrared sauna is the first step toward making it a lasting part of your wellness routine. By considering space, ventilation, electrical access, and your personal habits, you can create a setup that is both safe and inviting. The YardSauna Forest 1-Person Infrared Sauna is designed with these practical concerns in mind—its compact 3×3 footprint, ultra-low EMF heating, and tourmaline foot heater make it a versatile choice for bedrooms, home gyms, and basements. Remember, the best placement is one that fits your life, and this article is for informational purposes only.
Frequently Asked Questions
1. Can I put a compact infrared sauna on carpet?
Yes, you can place a sauna on carpet, but you should use a waterproof mat underneath to protect the carpet from moisture and compression. The sauna’s weight can leave permanent indentations in the carpet, and sweat can soak in and cause odors. A chair mat or a piece of plywood works well.
2. How much clearance does a 1-person sauna need?
Allow at least 6 inches of clearance on the sides and back for ventilation and maintenance access. In front, you need enough room for the door to open fully—typically 24 to 36 inches. This ensures you can enter and exit comfortably and that the sauna’s vents are not blocked.
3. Does a compact sauna need a dedicated circuit?
Yes, most infrared saunas draw 10 to 15 amps and should be on a dedicated 120V circuit. Sharing a circuit with other appliances can trip the breaker and potentially damage the sauna’s electronics. If you do not have a spare circuit, hire an electrician to install one.
4. Can I place a sauna in a bathroom?
You can place a sauna in a bathroom if the room is large enough and well-ventilated. However, the sauna must not be exposed to direct water spray, and the outlet should be GFCI protected. The bathroom fan should be run during and after sessions to remove excess humidity.
5. Is it safe to put a sauna in a garage?
A garage can work if it is insulated, dry, and protected from extreme temperatures. The sauna should not be exposed to rain or snow, and the floor should be level. You will also need a dedicated outlet and may want to add a small exhaust fan for ventilation.
6. How much does a compact sauna weigh?
A 1-person infrared sauna typically weighs between 200 and 300 pounds when assembled. The exact weight depends on the materials and features. Most residential floors can support this weight, but if you are placing the sauna on an upper floor, check the floor’s load capacity.
7. Can I put a sauna on a second floor?
Yes, a compact sauna can be placed on a second floor if the floor is structurally sound. The combined weight of the sauna and a person is usually within the load limits of a standard residential floor. If you have concerns, consult a structural engineer.
8. Do I need ventilation in the room where the sauna is placed?
Yes, the room should have some ventilation to prevent heat and humidity buildup. Opening a window or door during and after sessions is usually sufficient. In small, enclosed rooms, a small exhaust fan can help. The sauna itself has built-in vents that should never be blocked.
9. How far from the wall should a sauna be?
Leave at least 6 inches between the sauna and the wall. This allows air to circulate behind the unit and provides access for maintenance. If the sauna has rear vents or a power cord that exits from the back, you may need more space.
10. Can I use an extension cord with my sauna?
No, you should never use an extension cord with a sauna. Extension cords are not rated for continuous high-wattage loads and can overheat, creating a fire hazard. Always plug the sauna directly into a dedicated wall outlet.
11. What is the ideal room temperature for a sauna?
The ideal room temperature for a sauna is between 60 and 80 degrees Fahrenheit. Avoid placing the sauna in direct sunlight, next to a heat source, or in an unheated space. A stable, moderate temperature helps the sauna heat efficiently and keeps you comfortable.
12. How long does it take to assemble a compact sauna?
Most compact saunas can be assembled by two adults in 45 to 60 minutes. The panels are tongue-and-groove and fit together without special tools. Make sure you have enough space to assemble the sauna in its final location, or a clear path to move it after assembly.
For more on low-EMF home infrared saunas and the models we offer, visit yardsauna.com.
This article is for informational purposes only and does not constitute medical advice. Always consult a qualified healthcare provider before starting any new wellness routine, especially if you have pre-existing conditions or are pregnant.