YardSauna Forest 1-Person Infrared Sauna Assembly Guide
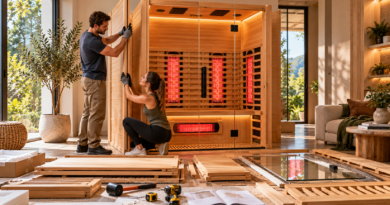
Assembling a home infrared sauna can feel like a big project, but the YardSauna Forest 1-Person Infrared Sauna is designed to make the process straightforward for two adults with basic DIY skills. This guide walks you through every phase of the assembly—from unboxing and site preparation to panel fitting, electrical hookup, and final checks—so you can enjoy your sauna with confidence and minimal frustration.
What Makes the YardSauna Forest Assembly Different
Unlike traditional saunas that require framing, insulation, and custom carpentry, the YardSauna Forest arrives as a modular kit with pre-cut tongue-and-groove panels. The manufacturer lists assembly time at 45–60 minutes for two adults, and the design reflects that: panels interlock with precision, hardware is minimal, and the entire structure is freestanding. No nails, no glue, no special construction skills are needed—just patience, a level surface, and a second pair of hands.
The sauna’s compact 36-inch by 36-inch footprint means it fits through standard doorways and into spare rooms, basements, or even large walk-in closets. At 75 inches tall, it clears most residential ceilings. Because it plugs into a standard 120V / 15A dedicated outlet, you won’t need a 240V line or a subpanel. That said, the electrical connection must be on a dedicated circuit to avoid tripping breakers when the heaters ramp up.
One detail worth noting: the Forest uses both quartz full-spectrum heaters and ultra-low EMF carbon panels. The quartz elements heat quickly, while the carbon panels provide gentle, even infrared warmth. The overhead red light and NIR therapy panel is integrated into the ceiling, and the floor panel includes a tourmaline-enriched foot heater. All of these components are pre-wired inside the panels, so you won’t be splicing wires during assembly—just connecting the main power cord to the outlet.
Tools and Materials You’ll Need
Most of what you need is already in a basic household toolbox. The kit includes all structural hardware—screws, brackets, and connectors—plus the power cord and controller. Here’s a checklist to gather before you start:
- Phillips-head screwdriver (manual or cordless with a low-torque setting)
- Rubber mallet or soft-faced hammer for tapping panels into place
- Level (a 2-foot bubble level works best)
- Measuring tape
- Utility knife for opening boxes and trimming any stray wood fibers
- Two step stools or a small ladder (for the roof panel and overhead light)
- Drop cloth or moving blanket to protect the floor during assembly
- Work gloves to prevent splinters from the hemlock panels
- Flashlight or headlamp for seeing inside the sauna during final connections
- Vacuum cleaner for sawdust and packaging debris
You will not need a drill, a saw, or any power tools beyond maybe a cordless screwdriver. The panels are pre-drilled, and the tongue-and-groove joints slide together with light taps. If you do use a cordless screwdriver, set it to the lowest clutch setting to avoid stripping the soft hemlock wood.
Step-by-Step Assembly Process
The assembly follows a logical sequence: floor, walls, ceiling, door, then electrical and accessories. Work in a space that gives you at least 2 feet of clearance on all sides of the sauna footprint. A spare bedroom, basement corner, or garage (if dry and temperature-controlled) works well.
Step 1: Unbox and Inventory
Open all boxes and lay out the panels on the drop cloth. Check the packing list against the parts: floor panel, left wall, right wall, back wall, front wall with door, ceiling panel, bench, heater guards, controller, power cord, and hardware bag. If anything is missing or damaged, contact the seller before proceeding. The panels are heavy—about 40–60 pounds each—so lift with your legs and keep the boxes upright to avoid bending the tongue edges.
Step 2: Prepare the Floor Location
Choose a level, dry spot. The sauna does not need a special subfloor, but it must sit on a hard, flat surface—tile, laminate, vinyl, or concrete all work. Carpet is not recommended because the sauna’s weight can compress the fibers unevenly, and the floor panel needs solid support. If the floor is slightly uneven, use thin shims under the base to level it before adding walls. A level base is critical; if the floor is off by even a quarter inch, the wall panels will not align at the top.
Step 3: Position the Floor Panel
Place the floor panel in the exact final location, leaving at least 6 inches of clearance from the wall for ventilation and access to the power cord. The floor panel has the tourmaline foot heater built in, with a connector that will plug into the wall panel. Make sure the connector is facing the side where the power cord will exit—usually the back or side, depending on the model. Use the level to confirm the floor panel is flat in both directions.
Step 4: Attach the Back Wall
With one person holding the back wall upright, align its bottom groove with the floor panel’s tongue. Gently rock the panel side to side while pressing down until it seats. The back wall is the heaviest panel because it contains most of the carbon heating elements. Do not force it; if it binds, lift and realign. Once seated, use two screws through the pre-drilled brackets at the bottom to secure it to the floor panel.
Step 5: Add the Side Walls
Attach the left and right side walls one at a time. Each side wall has a tongue on its front edge and a groove on its back edge. Slide the back edge into the back wall’s groove, then lower it onto the floor panel’s tongue. Use the rubber mallet to tap the top corners gently until the seams close. Secure each side wall to the back wall with the provided corner brackets and screws. Check for plumb with the level; if a wall leans, adjust the base shims before tightening.
Step 6: Install the Front Wall and Door
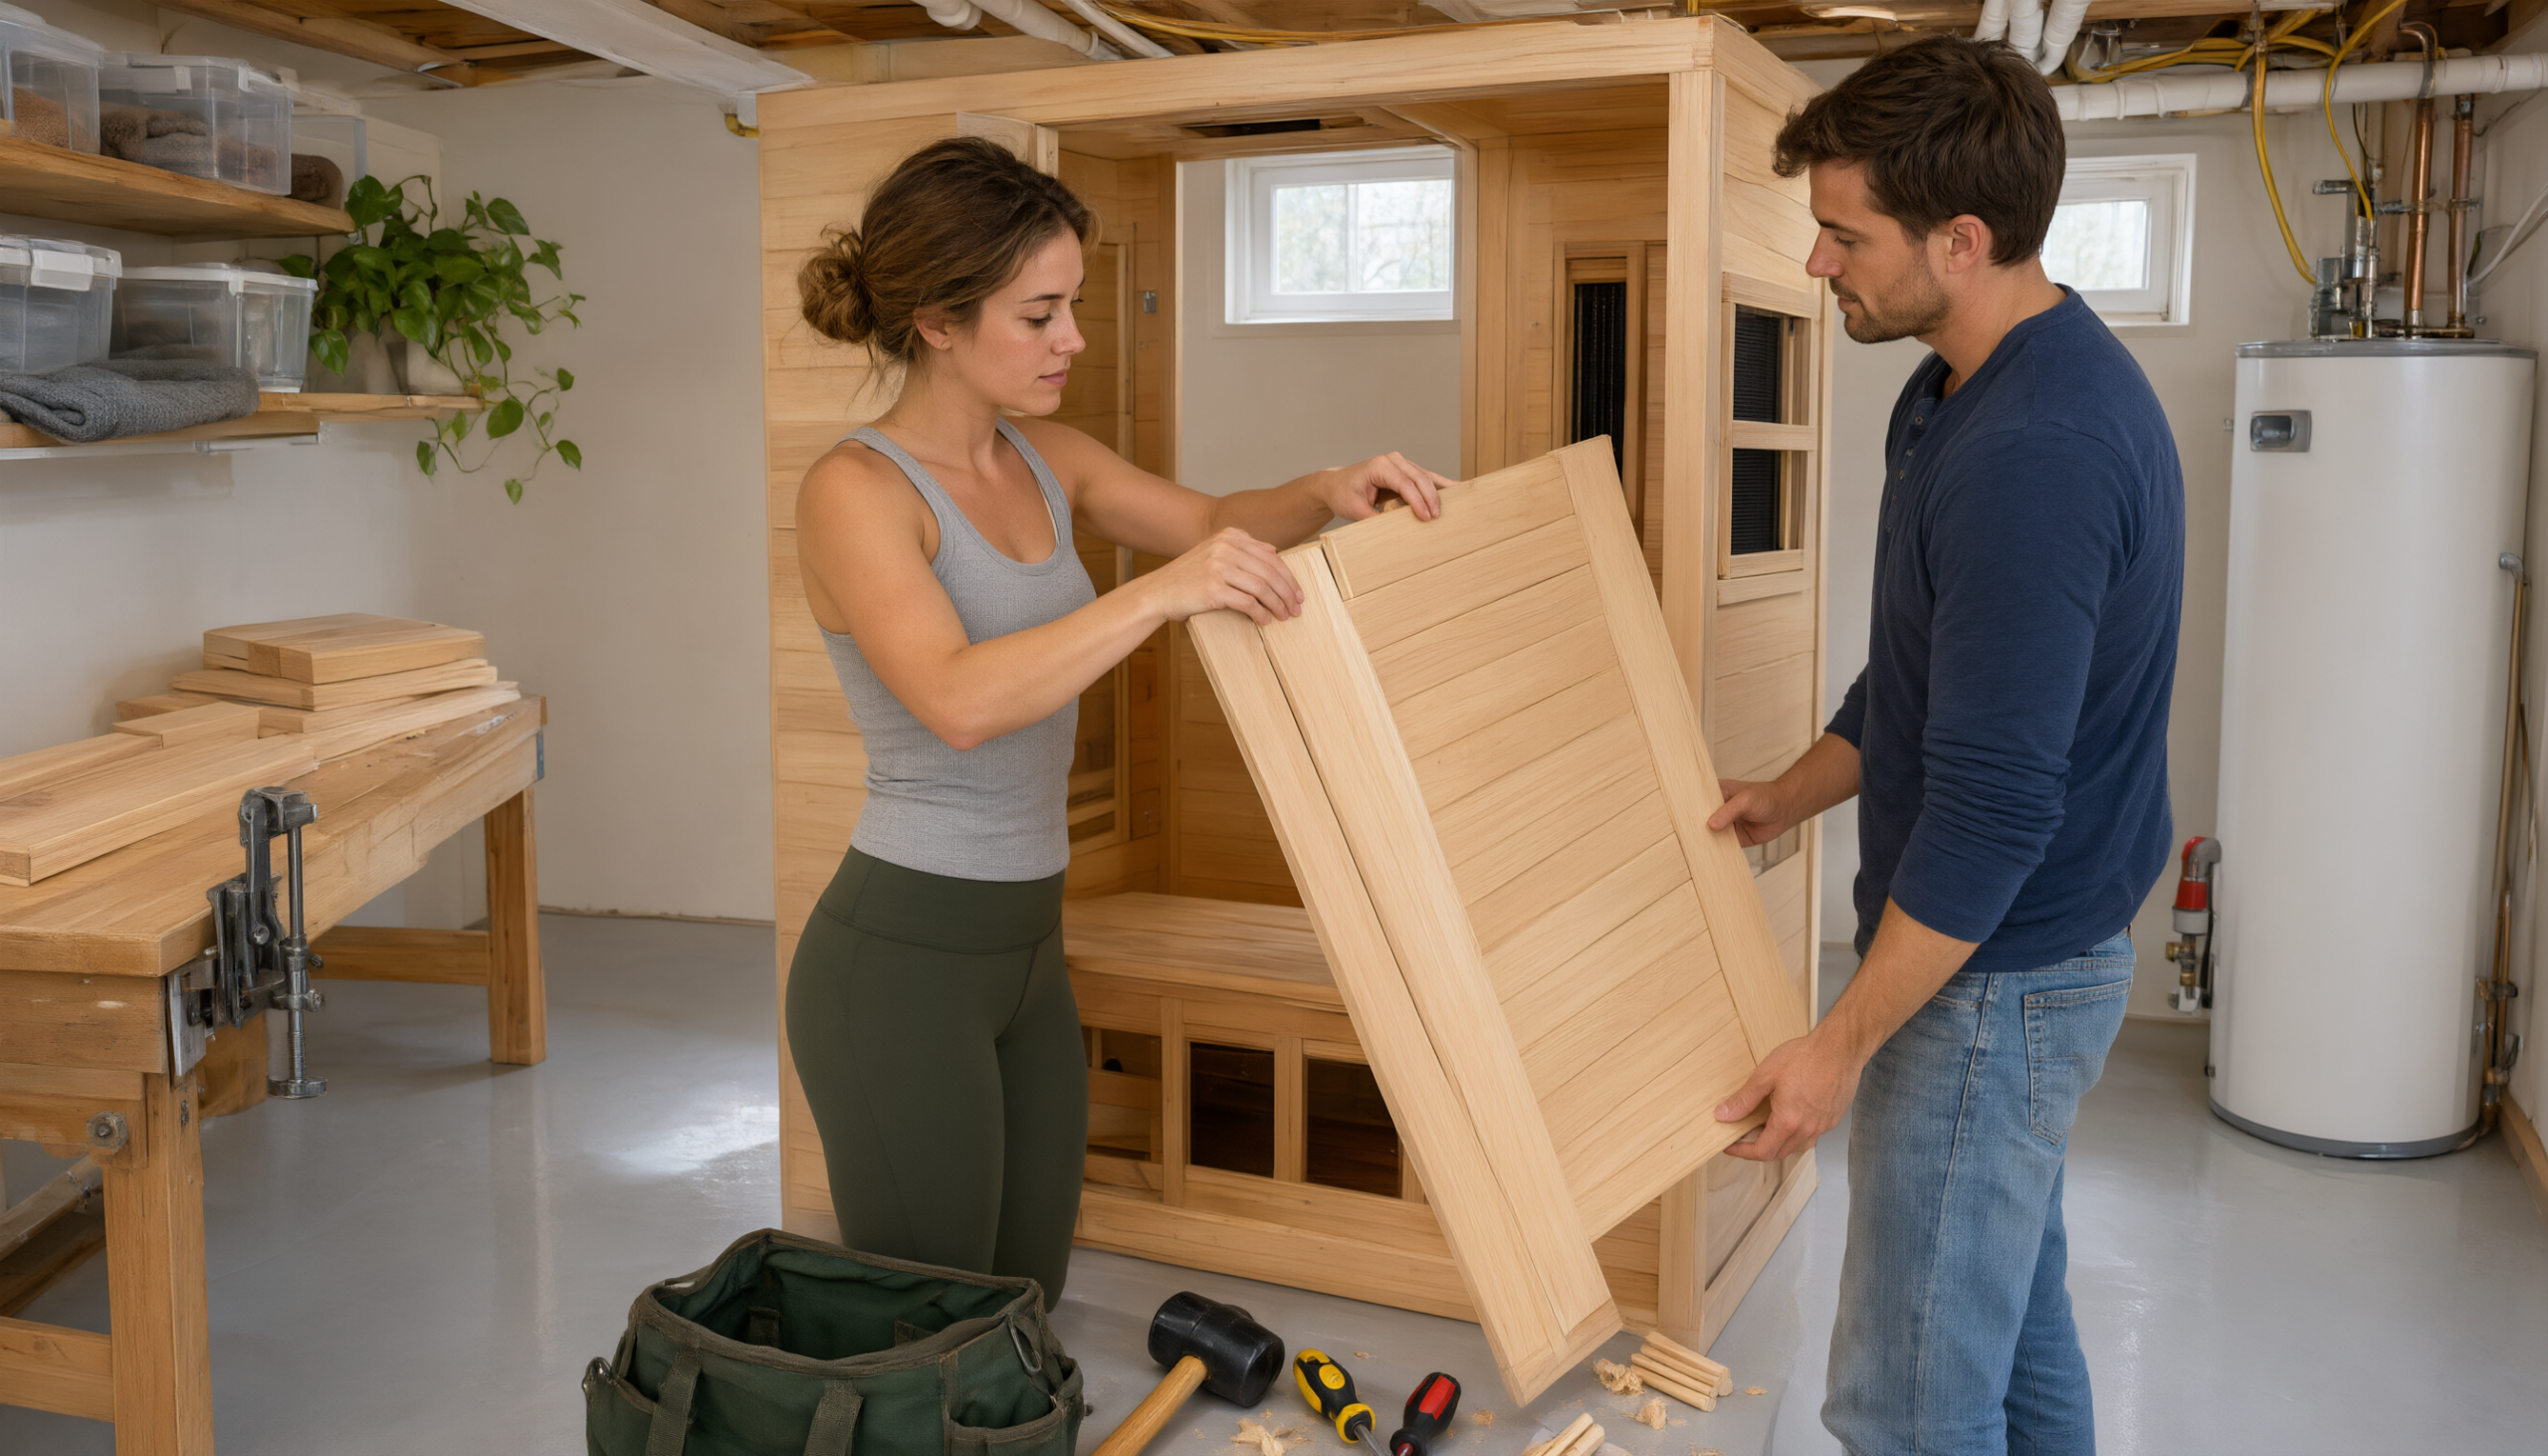
The front wall comes with the tempered glass door pre-hung in its frame. This panel is the trickiest because the door adds weight and the glass is fragile. Two people should lift it together, align the bottom groove with the floor panel, and then tilt it up until it meets the side walls. The door hinges are already attached, and the latch is pre-installed. Once the front wall is in place, secure it to the side walls with the remaining corner brackets. Check that the door swings freely and the latch aligns.
Step 7: Place the Ceiling Panel
The ceiling panel contains the overhead red light and NIR therapy panel, plus the Bluetooth speakers and LED lighting. It is lighter than the wall panels but awkward to handle. Use two step stools, one on each side of the sauna. Lift the ceiling panel above the walls, align its grooves with the top tongues of all four walls, and lower it evenly. The panel will seat with a soft thud. Secure it with the provided screws around the perimeter. Do not over-tighten; the hemlock can crack if screws are driven too deep.
Step 8: Connect the Internal Wiring
Inside the sauna, you’ll find a bundle of connectors: one from the floor heater, one from the back wall carbon panels, one from the ceiling light and speakers, and one from the control panel. Match the connectors by color and shape—they are keyed so you cannot plug them in wrong. Push each connector together until it clicks. Tuck the wires into the provided channels or clips so they don’t hang loose. This step is simply plug-and-play; no wire stripping or electrical tape is needed.
Step 9: Install the Bench and Heater Guards
Slide the bench into its brackets on the back wall. It should rest securely without screws. Then place the heater guards over the quartz elements on the lower side walls. The guards snap or screw into place, depending on the model. The guards are essential for safety—they prevent accidental contact with the hot quartz tubes.
Step 10: Plug In and Test
Route the power cord through the designated opening in the back or side wall, then plug it into the dedicated 120V outlet. Turn on the controller and run a test cycle: set the temperature to 120°F and the timer to 30 minutes. The quartz heaters should glow within seconds, and the carbon panels will warm more gradually. Check that the overhead red light turns on, the LED lighting works, the Bluetooth speakers pair with your phone, and the ventilation fan spins. If anything does not work, unplug and re-check the internal connections.
How the Sauna’s Heating System Works
Understanding the mechanism helps you appreciate why the assembly is so straightforward—and why the sauna heats the way it does. The YardSauna Forest uses a hybrid heating system: rapid-heating quartz elements and ultra-low EMF carbon panels. Quartz heaters emit infrared energy in the near and mid-infrared spectrum, which penetrates the skin more deeply and heats the body quickly. Carbon panels emit far-infrared energy, which is gentler and more evenly distributed. Together, they create a full-spectrum infrared experience that warms you from the inside out without making the air unbearably hot.
The quartz elements are located on the lower side walls and back wall, angled toward the bench. When you sit, your legs, torso, and back receive direct infrared. The carbon panels are embedded in the walls and ceiling, providing ambient warmth. The tourmaline-enriched floor panel adds another layer: tourmaline is a mineral that, when heated, emits far-infrared rays and negative ions. The floor heater warms your feet, which many users find makes the sauna feel more comfortable at lower temperatures.
The overhead red light and NIR therapy panel is a separate system. It uses medical-grade LEDs to deliver red light (visible spectrum) and near-infrared light (invisible) to the top of your head, neck, and shoulders. This is not a heat source; it’s a photobiomodulation device. The control panel lets you run the red light independently of the sauna heaters, so you can use it as a standalone light therapy session if you wish.
All of these components are pre-wired inside the panels. The only electrical connection you make during assembly is plugging the main power cord into the wall outlet. The sauna draws a maximum of 15 amps, which is why it requires a dedicated circuit. If you plug it into a shared circuit with other appliances, you risk tripping the breaker when the sauna is at full power.
Common Mistakes to Avoid During Assembly
Even with a well-designed kit, a few missteps can turn a smooth assembly into a frustrating afternoon. Here are the most common pitfalls and how to avoid them.
Mistake 1: Not Leveling the Floor First
The single biggest cause of misaligned panels is an unlevel floor. If the base is tilted, the walls will lean, the door will bind, and the ceiling panel won’t seat. Take the extra five minutes to shim the floor panel before adding walls. Check the level in both directions and at all four corners.
Mistake 2: Forcing Panels That Don’t Want to Fit
Tongue-and-groove joints need to be aligned perfectly before they slide together. If a panel won’t seat, don’t hammer it harder. Lift it slightly, realign the groove with the tongue, and try again. Forcing can crack the hemlock or bend the tongue, making the joint weaker and creating gaps.
Mistake 3: Overtightening Screws
Hemlock is a softwood. Screws driven too deep will strip the wood and lose their grip. Use a manual screwdriver or a cordless driver on the lowest clutch setting. Stop tightening as soon as the screw head is flush with the bracket—do not sink it below the surface.
Mistake 4: Skipping the Internal Wire Check
After you’ve connected all the internal plugs, give each one a gentle tug. A loose connector can cause a heater or light to fail intermittently. It’s much easier to fix now than after the ceiling panel is screwed down.
Mistake 5: Placing the Sauna Too Close to the Wall
The sauna needs airflow around it for ventilation and to prevent moisture buildup. Leave at least 6 inches of clearance on all sides, especially the back where the power cord exits. If the sauna is flush against a wall, the cord can be pinched, and the ventilation fan won’t work efficiently.
Mistake 6: Not Testing Before Final Placement
If you’re assembling the sauna in a temporary spot and then moving it, test everything first. It’s much harder to access the internal wiring or adjust the door after the sauna is in its final corner. Run the test cycle, check all functions, and then move the sauna into place.
Practical Tips for a Smooth Installation
These tips come from experienced DIYers and sauna owners. They’ll save you time and prevent headaches.
- Assemble in the room where the sauna will live. The assembled sauna weighs over 300 pounds and is awkward to move through doorways. Build it in place if possible.
- Use a headlamp. The inside of the sauna is dark during assembly, especially when connecting wires. A headlamp keeps both hands free.
- Protect the floor. The panels have sharp edges and can scratch hardwood or tile. Lay down a moving blanket or cardboard before you start.
- Keep the hardware organized. Sort the screws and brackets into small cups or a muffin tin. The kit includes different sizes, and mixing them up will slow you down.
- Work from the inside out. Once the walls are up, one person should work inside the sauna while the other works outside. This makes it easier to align panels and drive screws.
- Don’t rush the door. The front wall with the glass door is the most fragile part. Take your time, and never let the door swing open while you’re lifting the panel.
- Check the outlet before you start. Use a circuit tester to confirm the outlet is wired correctly and is on a dedicated 15-amp circuit. If you’re not sure, consult an electrician.
- Read the manual twice. The included instructions are concise but important. Review them before you start and keep them handy during assembly.
Buyer Considerations: Is the YardSauna Forest Right for You?
Before you commit to the YardSauna Forest 1-Person Infrared Sauna, think about your space, your electrical setup, and your sauna goals. This model is designed for one person, so it’s ideal for solo use in a bedroom, home gym, or basement. The 3×3-foot footprint is compact, but you still need room to open the door and get in and out comfortably. Measure your space carefully: you need at least 5 feet by 5 feet of floor area for the sauna plus clearance.
The electrical requirement is straightforward—a standard 120V dedicated outlet—but if your home’s wiring is older or the outlet is shared with other appliances, you may need an electrician to run a new circuit. This is a one-time cost that ensures safe operation. The sauna’s power draw is modest compared to a traditional sauna, but it’s still a continuous 15-amp load when all heaters are on.
Assembly time is listed as 45–60 minutes for two adults, but first-time builders should budget 2–3 hours including unboxing, leveling, and testing. The process is not difficult, but it requires patience and attention to detail. If you’re not comfortable lifting 50-pound panels or working on a step stool, enlist help. The kit is designed for DIY, but there’s no shame in hiring a handyman for the heavy lifting.
One feature that sets the Forest apart is the full-spectrum heating. Many budget infrared saunas use only carbon panels, which heat slowly and may not feel as intense. The Forest’s quartz elements provide rapid heat, and the overhead red light adds a therapeutic dimension. If you’re looking for a compact, feature-rich sauna that you can assemble in an afternoon, this model is worth considering.
Real-World Assembly Experience: What to Expect
Let’s walk through a typical assembly scenario. Sarah, a homeowner in Ohio, ordered the Forest for her basement gym. She and her husband unboxed the panels on a Saturday morning. The boxes were heavy but manageable, and all parts were accounted for. They spent 20 minutes leveling the floor with shims because the basement slab had a slight slope. Then they assembled the walls in about 40 minutes, taking breaks to check alignment.
The trickiest part was the ceiling panel. Sarah stood on a step stool inside the sauna while her husband lifted the panel from outside. They aligned the grooves and lowered it slowly. It seated perfectly on the first try. Connecting the wires took five minutes—everything was color-coded. They plugged in the sauna, ran the test cycle, and the quartz heaters glowed within 30 seconds. The whole process, including cleanup, took just under two hours.
Sarah’s experience is typical. The assembly is not physically demanding for two average adults, but it does require coordination and communication. The panels are not labeled, so you’ll need to identify them by shape and size. The manual includes diagrams, but a quick look at the parts before you start will save time.
Checklist for a Successful Sauna Assembly
Print this checklist and keep it handy during your build.
- Confirm the sauna location is level, dry, and has at least 6 inches of clearance on all sides.
- Verify the electrical outlet is a dedicated 120V / 15A circuit and is in good condition.
- Unbox all panels and check for damage; lay out parts in order of assembly.
- Gather tools: screwdriver, mallet, level, tape measure, step stools, gloves, headlamp.
- Level the floor panel with shims if necessary; check both directions.
- Assemble walls in order: back, sides, front; secure with brackets and screws.
- Install ceiling panel with two people; do not over-tighten screws.
- Connect all internal wiring; tug each connector to ensure a firm seat.
- Install bench and heater guards; check door alignment and latch.
- Plug in and run a full test cycle: heat, red light, LED, speakers, fan.
- Clean up sawdust and packaging; vacuum inside the sauna.
- Enjoy your first session—start with 15 minutes at 110°F and hydrate well.
Closing Summary
Assembling the YardSauna Forest 1-Person Infrared Sauna is a manageable weekend project for two adults with basic tools. The tongue-and-groove panels, pre-wired components, and clear instructions make the process straightforward, and the 45–60 minute claimed assembly time is realistic for experienced DIYers. The compact footprint and standard 120V plug mean it fits into most homes without major renovations. While the initial setup requires careful leveling and patient panel fitting, the result is a solid, attractive sauna that delivers full-spectrum infrared heat, red light therapy, and a heated foot panel. This guide is provided for informational purposes only; always follow the manufacturer’s instructions and consult a licensed electrician if you have any doubt about your home’s wiring.
Frequently Asked Questions
1. How long does it really take to assemble the YardSauna Forest sauna?
The manufacturer lists 45–60 minutes for two adults. In practice, first-time builders should allow 2–3 hours including unboxing, leveling, and testing. The process is not difficult, but taking your time prevents alignment issues and ensures a solid final structure.
2. Do I need any special tools or skills?
No special skills are required. You’ll need a Phillips screwdriver, a rubber mallet, a level, and a step stool. The panels are pre-cut and pre-drilled, and the wiring is plug-and-play. Basic DIY experience is helpful but not essential.
3. Can I assemble the sauna by myself?
It’s strongly recommended to have two adults. The wall and ceiling panels are heavy and awkward to handle alone. One person can manage the floor and bench, but lifting the ceiling panel solo is risky and may damage the panels or cause injury.
4. What kind of electrical outlet do I need?
The sauna plugs into a standard 120V / 15A dedicated household outlet. The circuit should not be shared with other appliances. If you’re unsure whether your outlet is dedicated, have an electrician check it before plugging in the sauna.
5. Can I put the sauna on carpet?
Carpet is not recommended. The sauna needs a hard, flat surface for stability and proper weight distribution. Carpet can compress unevenly, causing the panels to shift and the door to bind. Tile, laminate, vinyl, or concrete are ideal.
6. How much clearance do I need around the sauna?
Leave at least 6 inches of clearance on all sides. This allows for ventilation, access to the power cord, and prevents moisture buildup against walls. More clearance is better, especially in front of the door for easy entry and exit.
7. Is the sauna difficult to move after assembly?
Yes, the assembled sauna is heavy and bulky. It’s best to assemble it in its final location. If you must move it, use furniture sliders and at least two people. Avoid lifting by the door or the glass panels.
8. What should I do if a panel doesn’t fit?
Stop and check alignment. Tongue-and-groove joints need to be perfectly aligned before they slide together. Lift the panel slightly, realign, and try again. Do not force it with a hammer—this can crack the wood or bend the tongue.
9. How do I know if the sauna is working correctly after assembly?
Run a test cycle: set the temperature to 120°F and the timer to 30 minutes. The quartz heaters should glow within seconds, and the carbon panels will warm gradually. Check the red light, LED lighting, Bluetooth speakers, and ventilation fan. If anything fails, unplug and re-check the internal connections.
10. Can I use the sauna during assembly to test it before the ceiling is on?
No, never operate the sauna until it is fully assembled. The ceiling panel contains essential wiring and safety components. Operating the sauna without the ceiling could expose live wires and damage the heaters. Complete the entire assembly before plugging in.
11. What if my floor is not perfectly level?
Use thin wooden or plastic shims under the floor panel to level it. Check with a bubble level in both directions. A level base is critical for wall alignment and door operation. If the floor is severely uneven, consider placing the sauna on a sheet of plywood cut to size.
12. Does the sauna require any maintenance after assembly?
Regular maintenance is minimal. Wipe down the interior with a damp cloth after use, leave the door open to air out, and occasionally check the heater guards and wiring connections. The hemlock wood does not need oiling, but you can apply a sauna-specific wood cleaner if desired.
For more on low-EMF home infrared saunas and the models we offer, visit yardsauna.com.
This article is for informational purposes only and does not constitute medical advice. Always consult a qualified healthcare provider before starting any new wellness routine, especially if you have pre-existing conditions or are pregnant.