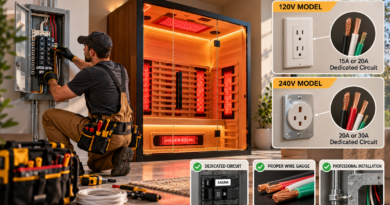
Sauna Installation Electrical: Safe Wiring Guide for Your Home Infrared Sauna
Installing a home infrared sauna is an exciting upgrade, but the electrical work can feel intimidating. Getting the wiring right is the single most important step for safe, reliable operation. This guide walks you through every electrical consideration for the YardSauna Forest 1-Person Infrared Sauna, from dedicated circuits to grounding, so you can enjoy your sauna with total peace of mind.
Understanding Infrared Sauna Electrical Basics
Infrared saunas heat your body directly using infrared light, which means they operate at lower temperatures than traditional steam saunas. This also means their electrical demands are more modest. Most home infrared saunas run on standard household current, but the devil is in the details. A dedicated circuit, correct outlet placement, and proper grounding are non-negotiable for safety and performance.
The YardSauna Forest 1-Person Infrared Sauna is engineered for simplicity: it plugs into a standard 120V / 15A dedicated household outlet. No special 240V wiring, no hardwiring, no electrician required for the basic connection—assuming your home already has a suitable outlet. This plug-and-play design is one of the reasons compact infrared saunas have become so popular for home use.
Why a Dedicated Circuit Matters
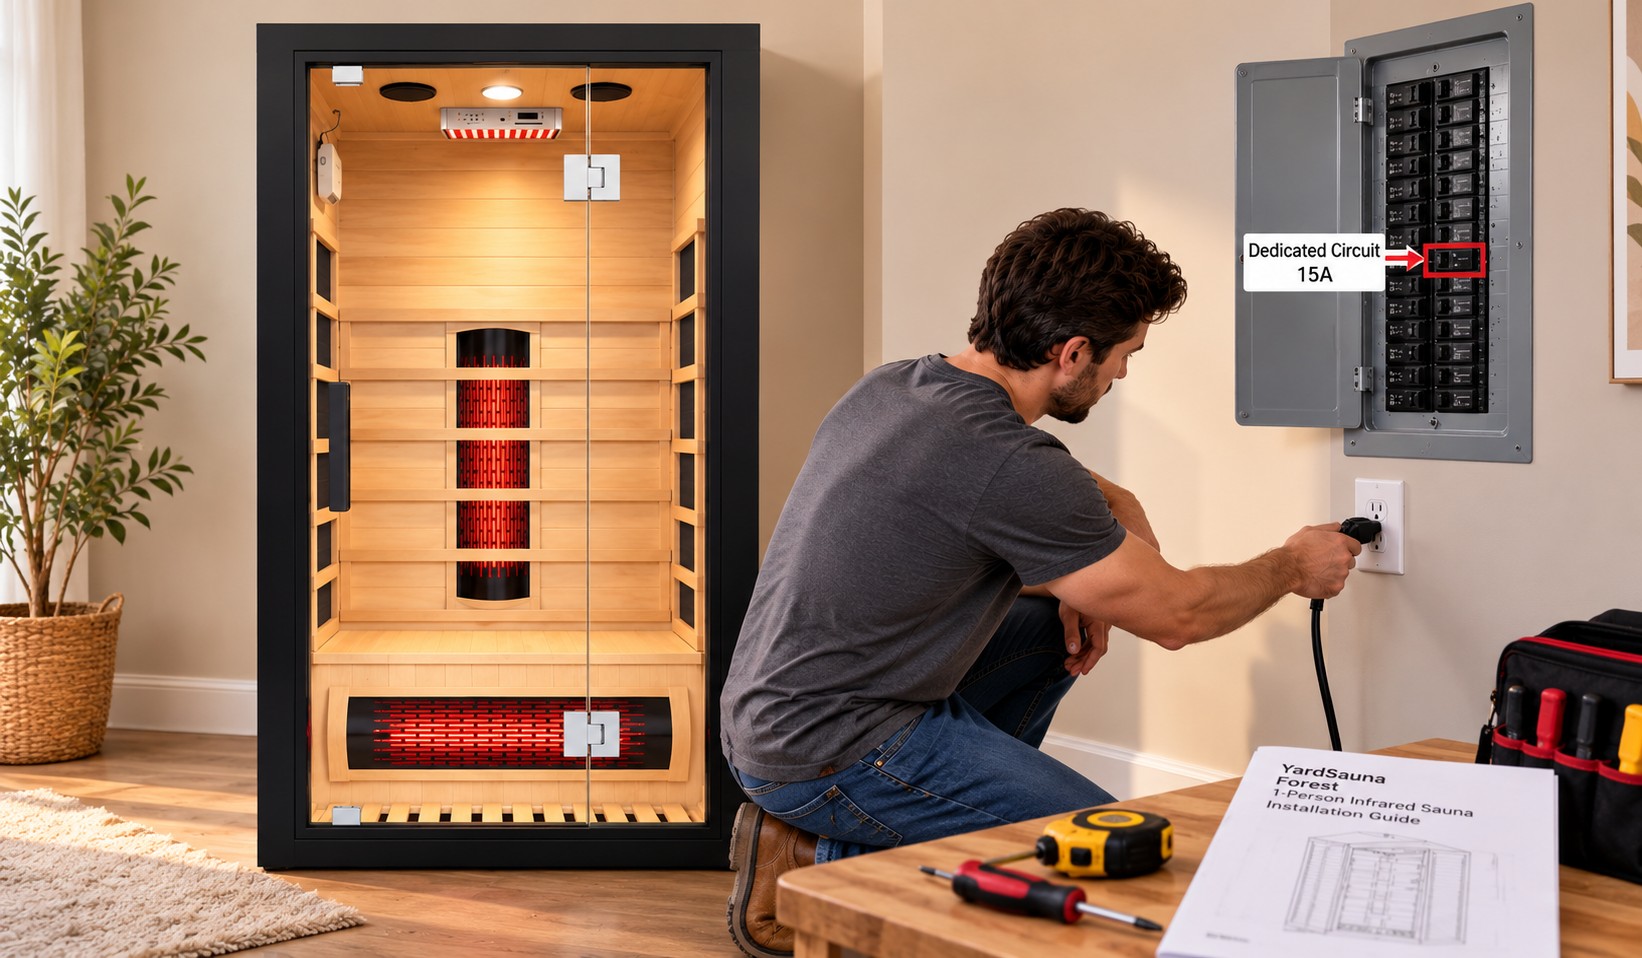
A dedicated circuit means the outlet your sauna uses is the only thing on that breaker. This prevents the sauna from tripping the breaker when other appliances draw power simultaneously. The Forest sauna draws up to 15 amps, which is the maximum for a standard 15-amp circuit. If you plug it into a shared circuit with, say, a space heater or a hair dryer, the breaker will trip—and repeated tripping can damage the sauna’s electronics.
Most homes have 15-amp circuits as standard, but some newer homes have 20-amp circuits in certain areas. The Forest sauna is designed for 15 amps, so a 20-amp circuit is also fine—the sauna will simply draw what it needs. The key is that the circuit is dedicated, meaning nothing else is plugged into it while the sauna is running.
Voltage and Amperage Requirements
The Forest sauna requires 120 volts and 15 amps. This is the standard voltage for North American homes. The sauna comes with a standard 3-prong plug that fits any regular household outlet. You do not need a special 240-volt outlet like those used for electric dryers or ovens. This keeps installation simple and affordable.
However, it’s crucial to verify that the outlet you plan to use is actually on a dedicated circuit. Many older homes have multiple outlets sharing one circuit. If you’re unsure, check your breaker panel or consult an electrician. A dedicated circuit ensures the sauna gets consistent power without risk of overload.
Step-by-Step Guide to Connecting Your Sauna
Follow these steps to safely connect your YardSauna Forest 1-Person Infrared Sauna. The process is straightforward, but attention to detail matters.
- Choose the location. The sauna needs a level, dry, indoor space with at least 3 feet of clearance in front of the door. The Forest sauna is compact—36 inches wide by 36 inches deep—so it fits in bedrooms, home gyms, or basements. Ensure the floor can support the weight (about 250 pounds assembled).
- Verify the electrical supply. Locate the nearest outlet and check that it is on a dedicated 15-amp or 20-amp circuit. If you’re not sure, turn off breakers one by one to see which controls that outlet. Only the sauna should be on that circuit when in use.
- Check the outlet condition. The outlet should be a standard 3-prong grounded outlet in good condition. If the outlet is old, loose, or shows signs of wear, replace it before plugging in the sauna. A loose connection can cause overheating.
- Position the sauna. Assemble the sauna according to the manual (tongue-and-groove panels, two adults, 45-60 minutes). Place it so the power cord reaches the outlet without stretching. Do not use an extension cord—the sauna should plug directly into the wall outlet.
- Plug in and test. Once assembled, plug the sauna into the dedicated outlet. Turn on the power using the digital touch controller. Set the temperature and timer, and let it run for 10 minutes to ensure it heats properly and no breakers trip.
If the breaker trips immediately or during heating, stop using the sauna and consult an electrician. This indicates a circuit overload or a wiring issue that must be resolved before continued use.
Outlet Placement and Cord Management
Where you place the outlet relative to the sauna is more important than many people realize. The Forest sauna has a power cord that exits from the rear or side (check your specific model). You want the outlet to be within easy reach of the cord without creating a tripping hazard or requiring an extension cord.
Ideally, the outlet should be on the same wall as the sauna’s power cord exit, about 12 to 18 inches above the floor. This keeps the cord off the ground and out of the way. If the outlet is behind the sauna, leave enough clearance to access it for plugging and unplugging. Never place the outlet inside the sauna or in a location where it could get wet.
For basement installations, the outlet may be higher on the wall or even on the ceiling. In that case, use a cord management system to secure the cord safely along the wall. Avoid running the cord under rugs or through doorways where it could be damaged.
Grounding and Safety Considerations
Grounding is your sauna’s primary defense against electrical shock. The Forest sauna has a 3-prong plug, which means it requires a properly grounded outlet. The third prong connects the sauna’s metal frame and electrical components to the earth, so any stray current flows safely to ground instead of through you.
Never use a 3-prong to 2-prong adapter (cheater plug) with your sauna. These adapters bypass the grounding protection and create a serious shock hazard. If your outlet is not grounded, have an electrician install a grounded outlet or run a new circuit.
Additionally, the sauna should be placed on a dry, non-conductive surface. Avoid carpet if possible, as it can trap moisture and static. A tile, concrete, or wood floor is ideal. Keep the sauna away from water sources like showers or sinks to prevent accidental splashing.
Common Mistakes to Avoid
Even well-intentioned DIYers make electrical mistakes. Here are the most common pitfalls and how to avoid them.
- Using an extension cord. Extension cords are not rated for continuous high-amperage loads. They can overheat and cause a fire. Always plug the sauna directly into a wall outlet.
- Sharing a circuit. Plugging the sauna into a circuit that also powers other appliances will cause breaker trips and potential damage. Verify the circuit is dedicated.
- Ignoring outlet condition. A loose or worn outlet can arc and overheat. Replace any outlet that doesn’t hold a plug firmly.
- Bypassing grounding. Using a cheater plug or removing the ground prong is extremely dangerous. Never do this.
- Installing in a damp location. Saunas should be in dry, well-ventilated indoor spaces. Moisture can damage electrical components and increase shock risk.
- Overlooking local codes. Some municipalities require a permit or inspection for sauna installation. Check your local building codes before you begin.
How Infrared Sauna Heating Works
Understanding how your sauna generates heat helps you appreciate why electrical requirements matter. The Forest sauna uses full-spectrum heating, which combines two technologies: rapid-heating quartz elements and ultra-low EMF carbon panels.
Quartz elements produce near-infrared and mid-infrared wavelengths that penetrate the skin’s surface for a warming sensation. Carbon panels emit far-infrared wavelengths that penetrate deeper into tissues, promoting a gentle, even heat. Together, they create a comfortable and efficient heating experience.
The sauna also includes overhead red light and near-infrared (NIR) therapy panels. These medical-grade panels deliver specific wavelengths that many users find beneficial for skin appearance and cellular recovery. While research on red light therapy is ongoing, some studies suggest it may support collagen production and reduce inflammation. These are not medical claims, but many users report positive experiences.
Finally, a tourmaline-enriched floor foot heater warms the feet, ensuring even heat distribution from floor to ceiling. All these heating elements draw power simultaneously, which is why the dedicated 15-amp circuit is essential. The total electrical load is carefully balanced to stay within standard household limits.
Buyer Considerations: What to Look For
When shopping for a home infrared sauna, electrical compatibility should be near the top of your checklist. Here’s what to evaluate.
Voltage and amperage. Most compact saunas run on 120V/15A, but some larger models require 240V. The Forest sauna is 120V/15A, making it compatible with almost any home. If you’re considering a larger sauna, you may need to budget for an electrician to install a dedicated 240V circuit.
Plug type. Check whether the sauna comes with a standard 3-prong plug or a special 20-amp plug (which has one horizontal prong). The Forest sauna uses a standard plug, so no adapter is needed.
EMF levels. All electrical devices emit electromagnetic fields, but some saunas are designed to minimize EMF exposure. The Forest sauna features ultra-low EMF carbon panels, which reduce EMF emissions compared to standard panels. This is a consideration for those who are sensitive to EMF.
Certifications. Look for UL or ETL certification, which indicates the sauna has been tested for electrical safety. The Forest sauna is UL/ETL/CE/ISO 9001 certified, providing assurance of quality and safety.
Warranty and support. A good warranty covers the heating elements and electronics. Check what’s included and how responsive the manufacturer is to support requests.
Practical Tips and Checklist for Safe Installation
Before you plug in your sauna, run through this checklist to ensure everything is in order.
- Verify the outlet is on a dedicated 15-amp or 20-amp circuit.
- Confirm the outlet is properly grounded with a 3-prong receptacle.
- Inspect the outlet for damage or looseness; replace if needed.
- Ensure the sauna is placed on a dry, level, non-conductive surface.
- Keep the sauna at least 3 feet from any water source.
- Do not use an extension cord or power strip.
- Test the sauna for 10 minutes after plugging in to check for breaker trips.
- Keep the area around the sauna clear of flammable materials.
Following these steps will help you avoid the most common electrical issues and ensure your sauna operates safely for years to come.
Video Walkthrough: Infrared Sauna Electrical Requirements Explained
For a visual explanation of how infrared sauna electrical requirements work, this video breaks down the basics. The presenter explains the difference between 15-amp and 20-amp circuits, how to identify which circuit your outlet is on, and what to do if your sauna requires a different amperage than your home provides. The video also shows the plug shapes for 15-amp and 20-amp outlets and discusses when you might need an electrician to upgrade your circuit.
While the video references a different sauna brand, the core electrical principles apply to any infrared sauna, including the YardSauna Forest. It is a helpful primer for anyone who is new to home sauna installation and wants to understand the terminology and safety considerations before making a purchase.
Final Thoughts: Is the YardSauna Forest Right for Your Home?
The YardSauna Forest 1-Person Infrared Sauna is designed to make home sauna ownership as simple as possible from an electrical standpoint. With its 120V/15A dedicated outlet requirement, standard 3-prong plug, and UL/ETL certification, it fits seamlessly into most American homes without the need for expensive electrical upgrades. Its full-spectrum heating, ultra-low EMF carbon panels, and compact 36×36-inch footprint make it a practical choice for bedrooms, home gyms, or basements.
Before you buy, take a few minutes to check your electrical setup. Locate the outlet you plan to use, verify it is on a dedicated circuit, and ensure it is properly grounded. If you have any doubts, a licensed electrician can assess your situation quickly and inexpensively. The peace of mind is worth it.
This guide is for informational purposes only and should not replace the advice of a qualified electrician. Always follow local building codes and the manufacturer’s installation instructions.
Frequently Asked Questions
1. Can I plug my infrared sauna into a regular outlet?
Yes, the YardSauna Forest 1-Person Infrared Sauna plugs into a standard 120V household outlet. However, the outlet must be on a dedicated 15-amp or 20-amp circuit. Avoid sharing the circuit with other appliances to prevent breaker trips.
2. Do I need a dedicated circuit for my sauna?
Yes, a dedicated circuit is strongly recommended. The sauna draws up to 15 amps, which is the maximum for a standard circuit. Sharing the circuit with anything else risks overloading and tripping the breaker.
3. What size breaker do I need for the Forest sauna?
The Forest sauna requires a 15-amp breaker. A 20-amp breaker is also acceptable, as the sauna will only draw what it needs. The breaker should be dedicated to the sauna outlet.
4. Can I use an extension cord with my sauna?
No, extension cords are not recommended for infrared saunas. They can overheat under continuous high-amperage load and create a fire hazard. Always plug the sauna directly into a wall outlet.
5. Does the sauna need to be hardwired?
No, the Forest sauna is a plug-in model. It comes with a standard 3-prong cord that plugs into a regular outlet. No hardwiring or special installation is required.
6. What if my outlet is not grounded?
You must have a properly grounded outlet for safety. If your outlet is not grounded, hire an electrician to install a grounded outlet or run a new circuit. Do not use a cheater plug.
7. Can I install the sauna in my basement?
Yes, basements are a common location for infrared saunas. Ensure the area is dry, well-ventilated, and has a dedicated outlet. Avoid placing the sauna near water sources or on damp floors.
8. How far should the sauna be from the outlet?
The sauna should be close enough that the power cord reaches the outlet without stretching. Ideally, the outlet is on the same wall, 12 to 18 inches above the floor. Avoid running the cord across walkways.
9. What is the difference between 15-amp and 20-amp outlets?
A 15-amp outlet has two vertical slots and a round ground hole. A 20-amp outlet has one vertical slot and one T-shaped slot. The Forest sauna uses a standard 15-amp plug, which fits both outlet types.
10. Do I need an electrician to install my sauna?
If you already have a dedicated 15-amp grounded outlet in the right location, you can install the sauna yourself. If you need a new circuit or outlet, hire a licensed electrician. Always follow local codes.
11. Can I plug other devices into the same circuit when the sauna is off?
Yes, when the sauna is not in use, the circuit can power other devices. However, to avoid confusion, it’s best to keep the circuit dedicated to the sauna at all times. Label the breaker for clarity.
12. What should I do if the breaker trips while using the sauna?
First, unplug the sauna and reset the breaker. If it trips again when you plug the sauna back in, stop using it and consult an electrician. The circuit may be overloaded or there may be a wiring issue.
If you are looking for a ready-to-use option, the YardSauna Forest 1-Person Infrared Sauna is a solid choice.
For more on low-EMF home infrared saunas and the models we offer, visit yardsauna.com.
This article is for informational purposes only and does not constitute medical advice. Always consult a qualified healthcare provider before starting any new wellness routine, especially if you have pre-existing conditions or are pregnant.