Compact Sauna Installation: A Simple Guide for the YardSauna Forest 1-Person Infrared Sauna
Installing a home sauna once meant major construction, dedicated ventilation, and a hefty electrician bill. Today, a compact infrared sauna like the YardSauna Forest 1-Person Infrared Sauna changes that completely. With a footprint smaller than a standard closet and a plug-in 120V design, this sauna can realistically be set up in a bedroom, home gym, or basement in a single afternoon — no contractor required.
This guide walks you through the entire installation process for the YardSauna Forest 1-Person Infrared Sauna, from choosing the right spot to plugging it in and running your first session. We will cover space requirements, electrical setup, step-by-step assembly, ventilation, and common mistakes to avoid, all tailored to compact American homes. By the end, you will know exactly what to expect and whether this sauna fits your space and lifestyle.
Why Compact Sauna Installation Is Different
Traditional Finnish saunas demand a lot: a dedicated room or outdoor structure, a 240V heater circuit, moisture barriers, drainage, and often a building permit. Infrared saunas, especially compact one-person models, flip that script. They heat the body directly with infrared light rather than heating the air, so they run cooler, require no plumbing, and can be placed on any dry, level floor. The YardSauna Forest 1-Person Infrared Sauna is built for this new reality: it measures just 36 inches wide by 36 inches deep, plugs into a standard 120V household outlet, and assembles from tongue-and-groove panels in under an hour with two adults.
That does not mean installation is thoughtless. You still need to plan the location, ensure the circuit can handle the load, and assemble the cabin correctly to avoid gaps or electrical issues. But compared to a custom build, the process is dramatically simpler — more like assembling a high-end piece of furniture than a construction project.
What Makes the YardSauna Forest 1-Person Infrared Sauna Easy to Install
Several design choices make this sauna particularly installation-friendly. First, the cabin is constructed from natural Canadian Hemlock, a lightweight but stable softwood that resists warping in humid conditions. The panels use a tongue-and-groove system, so they lock together firmly without visible fasteners. Second, the sauna is fully self-contained: the heaters, controller, LED lighting, Bluetooth speakers, and ventilation fan are all pre-wired inside the panels. You do not need to connect any internal electrical components. Third, the entire unit plugs into a dedicated 120V / 15A outlet — the same circuit you would use for a microwave or window air conditioner. No hardwiring, no subpanel, no 240V line.
For renters or homeowners who may want to relocate the sauna later, this portability is a major advantage. You can disassemble the panels, move them to a new room or a new home, and reassemble in about an hour. The only permanent requirement is a suitable electrical outlet.
Space Requirements and Placement for a Compact Sauna
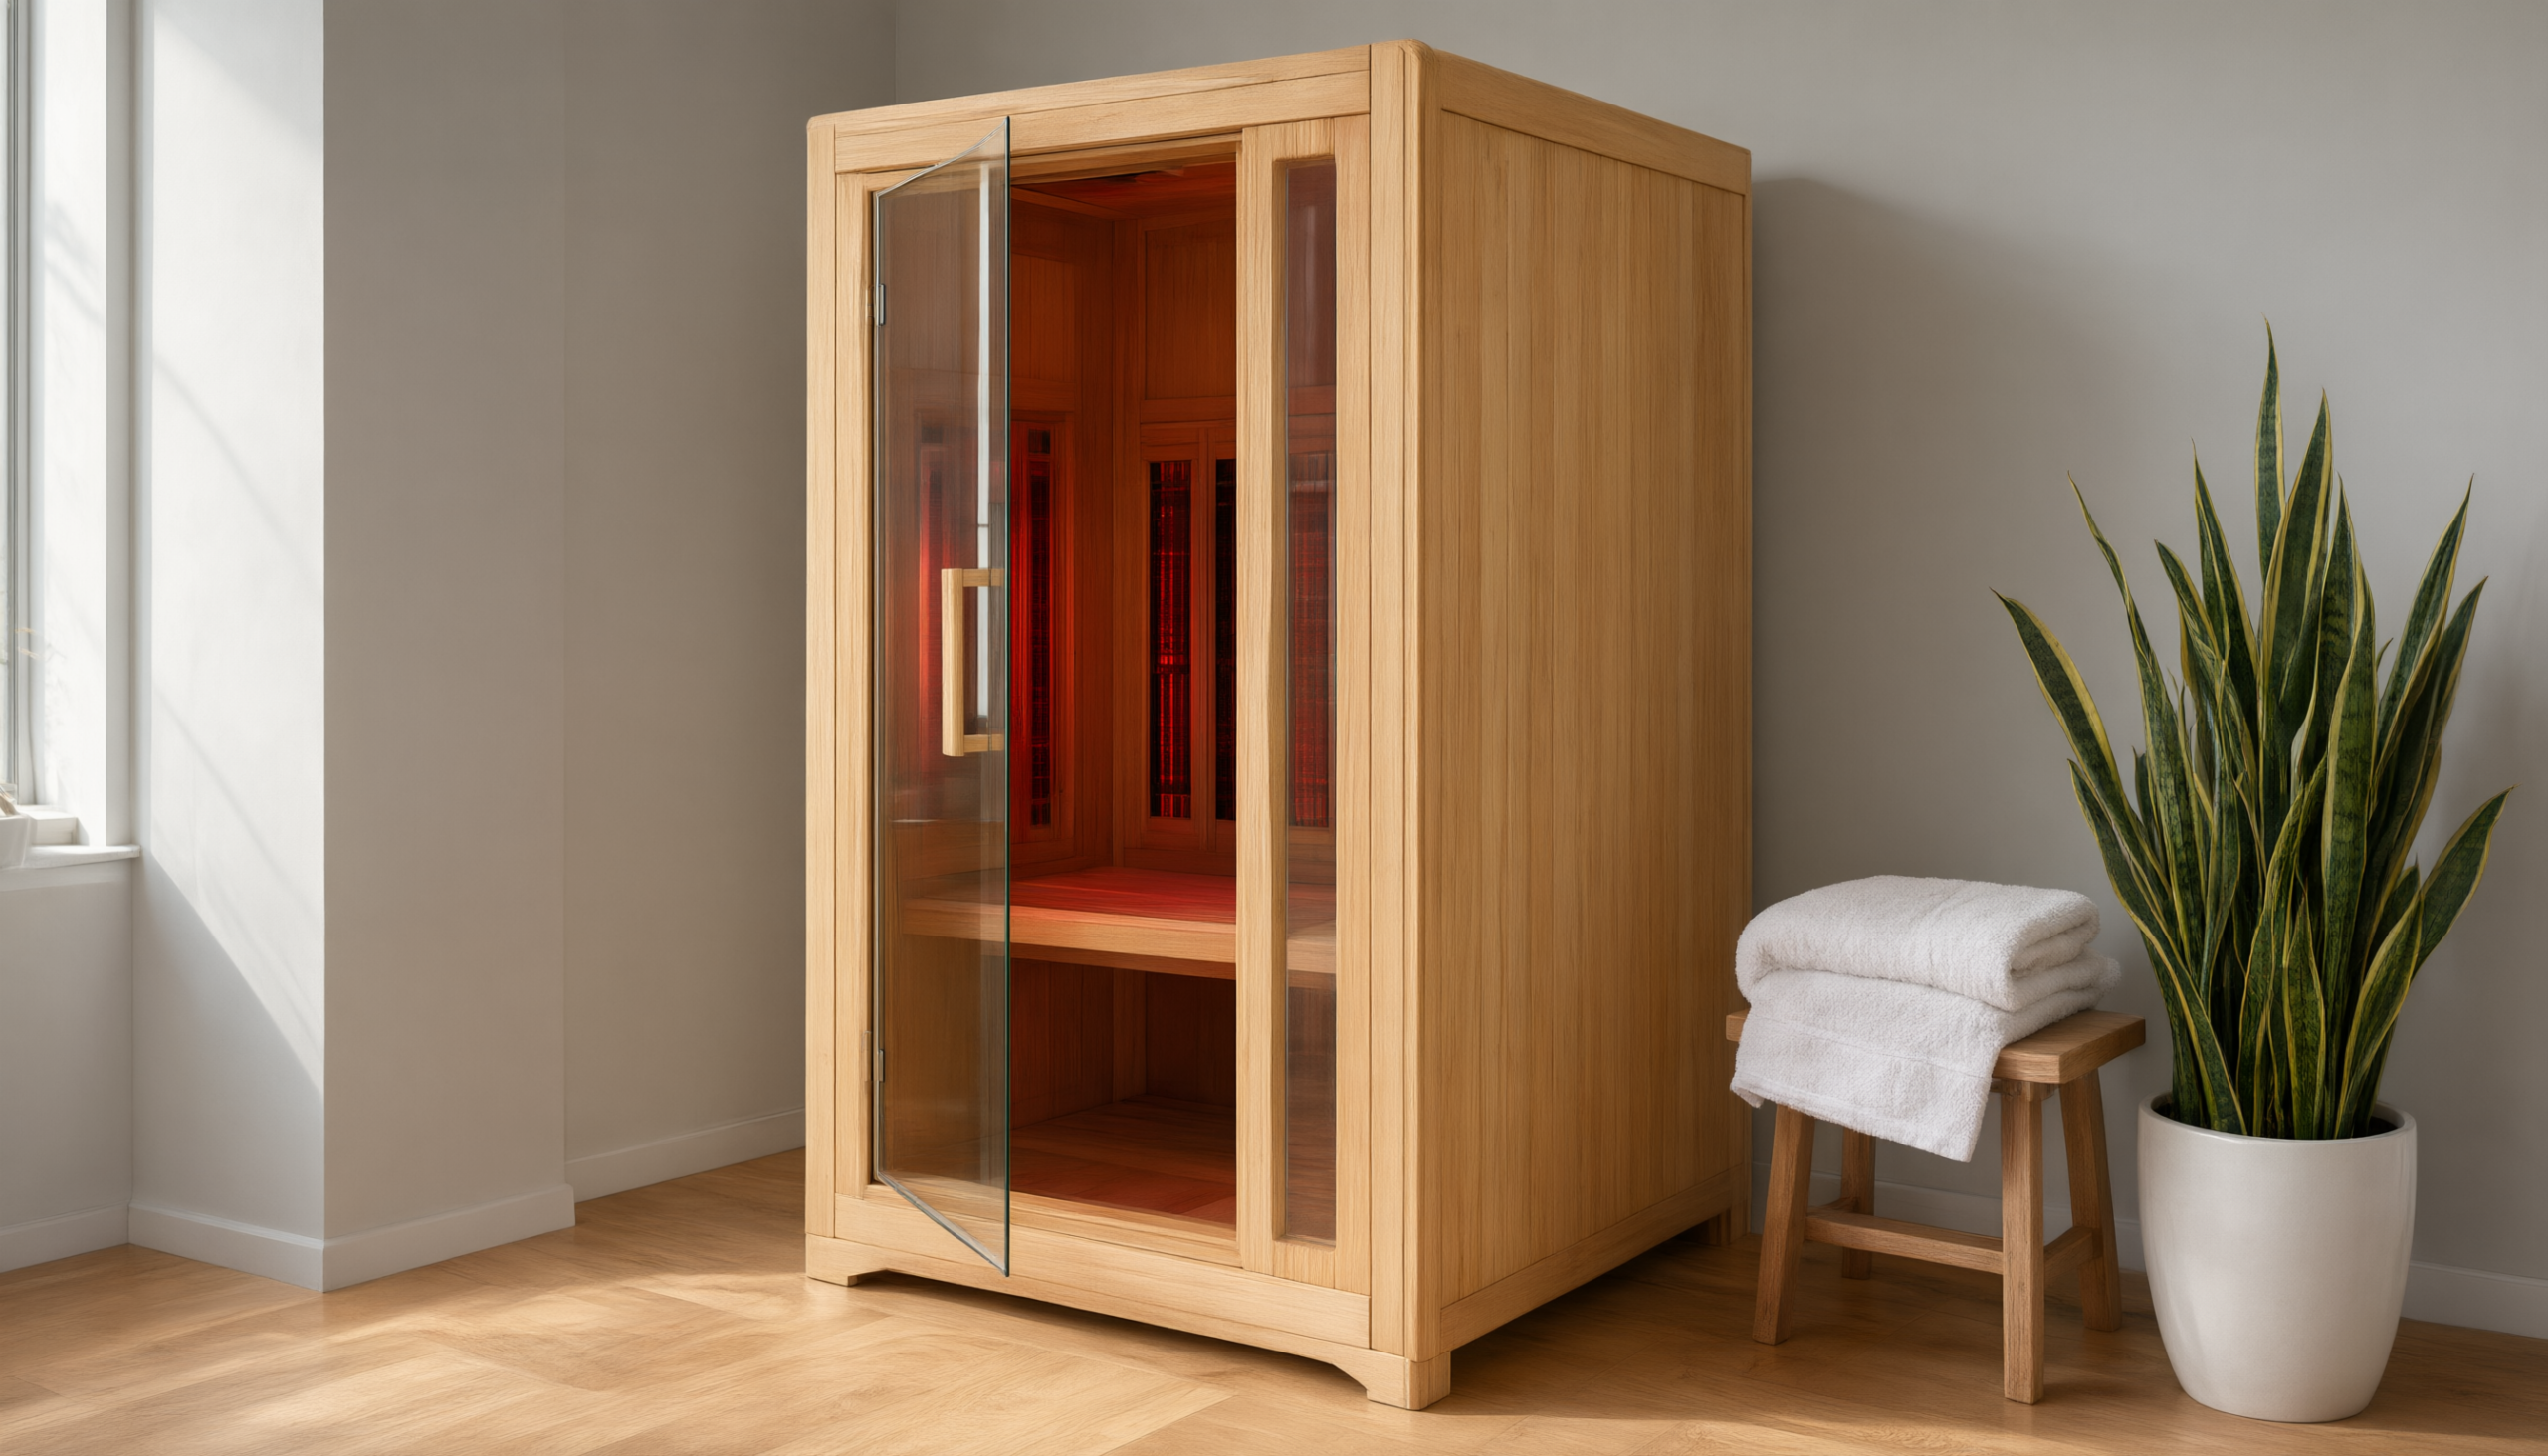
Before you order, measure your intended space carefully. The YardSauna Forest 1-Person Infrared Sauna has exterior dimensions of 36 inches wide by 36 inches deep by 75 inches high. That is a 3×3 foot footprint — about the size of a small shower stall. However, you need more than just the footprint. You need clearance to assemble the sauna in place, to open the tempered glass door, and to access the power cord and ventilation vents.
Minimum Room Dimensions
As a rule of thumb, allow at least 6 inches of clearance on all sides of the sauna for air circulation and heat dissipation. The door swings outward, so plan for at least 24 inches of clear space in front of the door. That means the ideal room should be at least 4 feet wide by 4 feet deep, with a ceiling height of at least 7 feet 6 inches. Most bedrooms, home offices, and basement corners easily meet this. If you are placing the sauna in a closet or alcove, ensure there is at least 3 inches of space behind the unit for the power cord to exit without being pinched, and that the door can open fully.
Ceiling height is rarely an issue at 75 inches, but check for overhead obstructions like sloped ceilings, light fixtures, or ductwork. The sauna should sit on a level, hard surface. Carpet is acceptable if it is low-pile and the sauna does not rock, but a smooth floor like tile, laminate, or concrete is ideal because it is easier to clean and less likely to trap moisture.
Best Rooms for a Compact Infrared Sauna
- Bedroom: A quiet, private space where you can relax after a session. The sauna’s low EMF and quiet operation make it suitable for a master bedroom or guest room, provided you have the floor space.
- Basement: Often cool and dry, basements offer privacy and a dedicated wellness zone. Ensure the basement is finished and free of moisture issues; infrared saunas should not be placed in damp, unfinished areas.
- Home gym: Pairing a sauna with a workout space is popular for post-exercise recovery. The sauna’s compact size fits easily in a corner of a garage gym or spare room, as long as the temperature is controlled.
- Home office: For those who work from home, a midday sauna break can be a stress reliever. The sauna’s quiet operation and low heat output make it unobtrusive in a study.
Avoid placing the sauna in a bathroom with a shower unless the bathroom is large and well-ventilated. The high humidity from a shower can damage the wood over time and may void the warranty. Similarly, avoid outdoor placement unless the sauna is specifically rated for outdoor use — the YardSauna Forest is designed for indoor use only.
Electrical Setup: What You Need to Know
The YardSauna Forest 1-Person Infrared Sauna operates on a standard 120V / 15A circuit. This is the most common household circuit in North America, used for lights and general-purpose outlets. However, the sauna’s heaters draw a significant portion of that circuit’s capacity, so it must be plugged into a dedicated outlet — meaning no other appliances or lights should share that circuit while the sauna is running.
Why a Dedicated Circuit Matters
Infrared saunas typically draw between 10 and 14 amps when the heaters are on full. On a 15-amp circuit, that leaves little headroom for anything else. If you plug the sauna into a circuit that also powers a space heater, a treadmill, or a window AC unit, you risk tripping the breaker or overheating the wiring. A dedicated circuit ensures the sauna gets steady, uninterrupted power and reduces the risk of electrical fire.
Check your electrical panel to see if you have a spare 15-amp breaker. If not, or if you are unsure, hire a licensed electrician to install a dedicated outlet near your chosen sauna location. The cost is typically modest — often a few hundred dollars — and it is a one-time investment that protects both your sauna and your home.
Outlet Location and Cord Management
The sauna’s power cord exits from the rear or side panel, depending on the model. Plan the outlet so the cord can reach without an extension cord. Extension cords are not recommended for high-draw appliances because they can overheat. If the outlet is not exactly where you need it, have an electrician move it or add a new one. The cord should lie flat against the wall or floor, not stretched taut or pinched under the sauna.
Also check the outlet’s grounding. The sauna’s plug is a standard three-prong grounded plug. Never use a two-prong adapter. If your home has older two-prong outlets, upgrade to grounded outlets before installing the sauna.
Step-by-Step Assembly Guide for the YardSauna Forest 1-Person Infrared Sauna
Assembly of the YardSauna Forest is designed for two adults and takes about 45 to 60 minutes. The panels are heavy but manageable, and the tongue-and-groove system means you will not need nails or screws. You will need a Phillips screwdriver, a rubber mallet (optional but helpful), and a level. Here is the process:
- Unpack and inventory. Carefully remove all panels from the shipping crate. Lay them out on a clean, soft surface to avoid scratches. Check the packing list to ensure all parts are present: floor panel, ceiling panel, four wall panels, door panel, bench, heater panels, controller, and hardware kit.
- Position the floor panel. Place the floor panel in the exact final location. Use a level to check that it is flat. If the floor is slightly uneven, use thin shims under the panel to level it — do not force the walls to compensate for an unlevel floor.
- Attach the rear wall panel. Lift the rear wall panel and align its bottom groove with the floor panel’s tongue. Gently tap it into place with a rubber mallet if needed. The panel should stand upright on its own.
- Add the side wall panels. Attach the left and right wall panels to the rear panel, one at a time. The tongues and grooves will interlock. Make sure the panels are fully seated — you should not see gaps at the joints.
- Install the front door panel. The front panel includes the tempered glass door and frame. Align it with the side panels and floor. This panel is the heaviest, so have your helper support it while you guide the joints together.
- Place the ceiling panel. Lift the ceiling panel onto the top of the four walls. It will rest on the wall panels’ top edges. Some models have alignment pins or brackets; follow the included instructions for securing it.
- Connect internal wiring. Inside the sauna, you will find pre-wired connectors for the heaters, controller, LED lights, and speakers. These are color-coded or keyed, so they only fit one way. Connect them according to the manual. Do not force any connector.
- Install the bench and heater panels. Slide the bench into its brackets. Mount the heater panels on the walls or under the bench as indicated. The tourmaline foot heater goes on the floor in front of the bench.
- Plug in and test. Plug the sauna into the dedicated outlet. Turn on the power switch. The digital controller should light up. Set a low temperature and run the sauna for 10 minutes to verify all heaters and lights work. Check for any unusual smells — a slight wood odor is normal at first.
After assembly, leave the sauna door open for 24 hours to allow the wood to acclimate and any manufacturing odors to dissipate. Then you are ready for your first session.
Ventilation and Airflow Considerations
Proper ventilation is essential for comfort and longevity. The YardSauna Forest includes a multi-speed cabin ventilation fan, but you still need to manage airflow in the room. Infrared saunas do not produce steam, but you will sweat, and that moisture needs to go somewhere.
Built-in Ventilation
The sauna has adjustable vents, usually near the floor and ceiling. For most users, keeping the lower vent open and the upper vent partially closed creates a gentle convection current that draws fresh air in and exhausts warm, moist air. Experiment with the vent positions during your first few sessions to find what feels best. The built-in fan can be set to low or high; higher speeds are better for longer sessions or if you feel stuffy.
Room Ventilation
The room itself should have some air exchange. If you are in a bedroom or basement with a window, crack it open slightly during sauna use. If there is no window, run a small exhaust fan or leave the door ajar. Avoid placing the sauna in a completely sealed, windowless closet — the humidity and heat buildup will be uncomfortable and may damage the sauna over time.
After each session, wipe down the interior with a dry cloth and leave the door open for at least 30 minutes to dry out. This simple habit prevents mold and keeps the Hemlock looking new.
Common Mistakes to Avoid During Compact Sauna Installation
Even a straightforward installation can go wrong if you rush. Here are the most common pitfalls and how to avoid them:
- Skimping on clearance. Placing the sauna too close to walls or furniture blocks airflow and makes the door hard to open. Always maintain at least 6 inches on all sides and 24 inches in front.
- Using a shared circuit. Plugging the sauna into a circuit that powers other devices will likely trip the breaker. Always use a dedicated 15A outlet.
- Forcing panels together. If a tongue-and-groove joint does not slide easily, do not hammer it hard. Check for misalignment, debris in the groove, or an unlevel floor. Forcing can crack the wood.
- Ignoring floor level. An unlevel floor causes the walls to lean and the door to bind. Use shims under the floor panel before assembling the walls.
- Skipping the test run. Always run the sauna empty for 10-15 minutes before first use. This verifies all electrical connections and burns off any manufacturing residue.
- Placing on carpet without protection. While low-pile carpet is acceptable, consider placing a thin rubber mat or a piece of plywood under the sauna to protect the carpet from compression and to make cleaning easier.
How the YardSauna Forest 1-Person Infrared Sauna Works
Understanding the heating technology helps you install and use the sauna correctly. The YardSauna Forest uses full-spectrum infrared heating, which combines three types of infrared wavelengths: near, mid, and far. Each penetrates the body to a different depth, providing a range of therapeutic effects.
The Heating System
The sauna features rapid-heating quartz elements and ultra-low EMF carbon panels. Quartz heaters emit near and mid-infrared, which warm the skin and muscles quickly. Carbon panels emit far-infrared, which penetrates deeper to raise core body temperature. This combination allows the sauna to reach a comfortable operating temperature of around 120-140°F in about 15-20 minutes, much faster than a traditional sauna.
The ultra-low EMF design is a key selling point. EMF (electromagnetic field) is a concern for some sauna users, and the YardSauna Forest’s carbon panels are engineered to emit extremely low levels, well below common household appliances. The sauna is UL/ETL/CE/ISO 9001 certified, meaning it has passed independent safety testing.
Additional Therapy Features
Overhead red light and near-infrared (NIR) therapy panels target the face and scalp, which many users appreciate for skin health. The tourmaline-enriched floor foot heater warms the feet and emits negative ions, which some studies suggest may improve mood and circulation. The digital touch controller lets you set the temperature, timer, and light color, while the Bluetooth speakers let you play music or podcasts during your session.
Why Installation Matters for Performance
Proper installation ensures these features work as intended. If the panels are not fully seated, heat can escape and the sauna will take longer to warm up. If the electrical connection is loose, the heaters may not reach full power. Taking your time during assembly pays off in consistent, efficient performance.
Practical Tips and a Pre-Installation Checklist
Before you even unbox the sauna, run through this checklist to avoid surprises:
- Measure twice. Confirm the room dimensions, ceiling height, and door clearance. Remember the sauna is 36x36x75 inches.
- Verify electrical. Locate a dedicated 15A outlet within reach of the sauna’s power cord, or plan to have one installed.
- Clear the path. Ensure you can move the shipping crate from your front door to the installation room without tight turns or stairs that are too narrow. The crate is large and heavy.
- Gather tools. You will need a Phillips screwdriver, a rubber mallet, a level, and possibly shims.
- Recruit a helper. Two adults are required for assembly. The wall and door panels are too heavy and awkward for one person.
- Protect the floor. Lay down a moving blanket or cardboard where you will unpack and assemble to prevent scratches.
- Plan for disposal. The crate and packing materials are bulky. Arrange for recycling or trash pickup in advance.
Buyer Considerations: Is the YardSauna Forest Right for Your Space?
Before committing, weigh the pros and cons of this compact sauna against your needs and home layout.
Pros
- Small footprint: At 3×3 feet, it fits in almost any room, including apartments and condos.
- Plug-and-play: No hardwiring or 240V circuit needed; uses a standard 120V outlet.
- Quick assembly: Two adults can assemble it in under an hour with basic tools.
- Low EMF: Ultra-low EMF carbon panels provide peace of mind for sensitive users.
- Full-spectrum therapy: Quartz, carbon, red light, and NIR in one unit.
- Quality materials: Non-toxic Canadian Hemlock and tempered glass front.
Cons
- One-person capacity: If you want to sauna with a partner, you will need a larger model.
- No steam: Infrared saunas do not produce steam, so if you want a traditional Finnish sauna experience, this is not it.
- Requires dedicated circuit: While plug-in, it still needs a dedicated 15A outlet, which may require an electrician.
- Indoor only: Not rated for outdoor use.
For most solo users in small homes, the pros far outweigh the cons. The YardSauna Forest is a practical, well-built entry into home infrared therapy.
Real-World Installation Examples
To give you a concrete sense of how this sauna fits into real homes, consider these scenarios:
- Apartment bedroom: A renter in a 700-square-foot apartment places the sauna in a corner of the bedroom, next to a dedicated outlet that previously powered a window AC unit. The sauna’s quiet operation and low heat output do not disturb neighbors. Assembly takes 50 minutes on a Saturday afternoon.
- Basement home gym: A homeowner converts a corner of the finished basement into a recovery zone. The sauna sits on a rubber gym mat over concrete. A dedicated circuit was already available from a previous treadmill. The sauna is used after workouts, and the basement’s natural coolness helps dissipate heat.
- Home office: A remote worker places the sauna in a spare room used as an office. The sauna doubles as a midday break space. A small exhaust fan in the window handles humidity. The Bluetooth speakers are used for guided meditation during sessions.
These examples show that with a little planning, the YardSauna Forest can fit into almost any American home.
Closing Summary: A Practical Path to Home Sauna Ownership
Compact sauna installation no longer requires a contractor, a building permit, or a dedicated room. The YardSauna Forest 1-Person Infrared Sauna brings the wellness benefits of full-spectrum infrared therapy into a footprint that fits a bedroom, basement, or home gym. With a 120V plug-in design, tongue-and-groove assembly, and a 45-60 minute setup time, it is one of the most accessible home saunas on the market.
By following the space, electrical, and assembly guidance in this article, you can avoid common pitfalls and enjoy years of reliable use. Remember to always use a dedicated circuit, maintain proper clearance, and ventilate the room after each session. This information is for informational purposes only; always consult a licensed electrician for any electrical work and follow the manufacturer’s instructions.
Frequently Asked Questions
1. What size infrared sauna fits a small home?
A compact 1-person infrared sauna like the YardSauna Forest measures 36 inches wide by 36 inches deep, making it suitable for bedrooms, home offices, and basements. You need about 4×4 feet of floor space plus 24 inches in front for the door. Ceiling height should be at least 7 feet 6 inches.
2. Does a compact infrared sauna need a dedicated circuit?
Yes. The YardSauna Forest draws up to 15 amps on a 120V circuit, so it must be plugged into a dedicated 15A outlet. Sharing the circuit with other appliances can trip the breaker or overheat the wiring. If you do not have a dedicated outlet, hire an electrician to install one.
3. Can I install a compact sauna on carpet?
Low-pile carpet is acceptable if the sauna sits level and does not rock. However, a hard surface like tile or laminate is easier to clean and less likely to trap moisture. Consider placing a thin rubber mat under the sauna to protect the carpet.
4. How long does it take to assemble the YardSauna Forest 1-Person Infrared Sauna?
With two adults, assembly typically takes 45 to 60 minutes. The panels use a tongue-and-groove system, and all electrical components are pre-wired. You will need a Phillips screwdriver, a rubber mallet, and a level.
5. Do I need a plumber or special ventilation for an infrared sauna?
No plumbing is required because infrared saunas do not produce steam. The sauna has built-in ventilation, and you should ensure the room has some air exchange, such as a window or exhaust fan. Wipe down the interior after use and leave the door open to dry.
6. Can I put a compact sauna in a basement?
Yes, a finished, dry basement is an excellent location. Ensure the basement is not damp, as excess moisture can damage the wood. The sauna should sit on a level surface, and you may need a dedicated circuit installed if one is not available.
7. Is the YardSauna Forest safe for daily use?
The sauna is UL/ETL/CE/ISO 9001 certified and features ultra-low EMF carbon panels. Many users use it daily, but start with shorter sessions and hydrate well. Consult your doctor if you have any health conditions.
8. What is the difference between a 120V and 240V sauna?
A 120V sauna plugs into a standard household outlet and is limited to about 15 amps, which is sufficient for a 1-person infrared sauna. A 240V sauna requires a dedicated high-voltage circuit and is typically used for larger saunas or traditional heaters. The YardSauna Forest is 120V for easy installation.
9. Can I move the sauna after installation?
Yes. The sauna can be disassembled and reassembled in a new location. The panels are modular, and the electrical connections are plug-in. Allow about an hour for disassembly and reassembly, and ensure the new location has a dedicated outlet.
10. How hot does the YardSauna Forest get?
The sauna reaches a comfortable infrared operating temperature of around 120-140°F. Because infrared heats the body directly, you will sweat at lower temperatures than a traditional sauna. The digital controller lets you set your preferred temperature.
11. Do I need a permit to install a compact infrared sauna?
In most jurisdictions, no permit is required for a freestanding, plug-in infrared sauna because it is considered a portable appliance. However, if you need to add a dedicated electrical circuit, that work may require a permit and should be done by a licensed electrician.
12. What should I put under my sauna to protect the floor?
A thin rubber mat, a piece of plywood, or a dedicated sauna floor mat can protect your floor from scratches and moisture. Ensure the mat is level and does not interfere with the door or ventilation.
For more on low-EMF home infrared saunas and the models we offer, visit yardsauna.com.
This article is for informational purposes only and does not constitute medical advice. Always consult a qualified healthcare provider before starting any new wellness routine, especially if you have pre-existing conditions or are pregnant.