
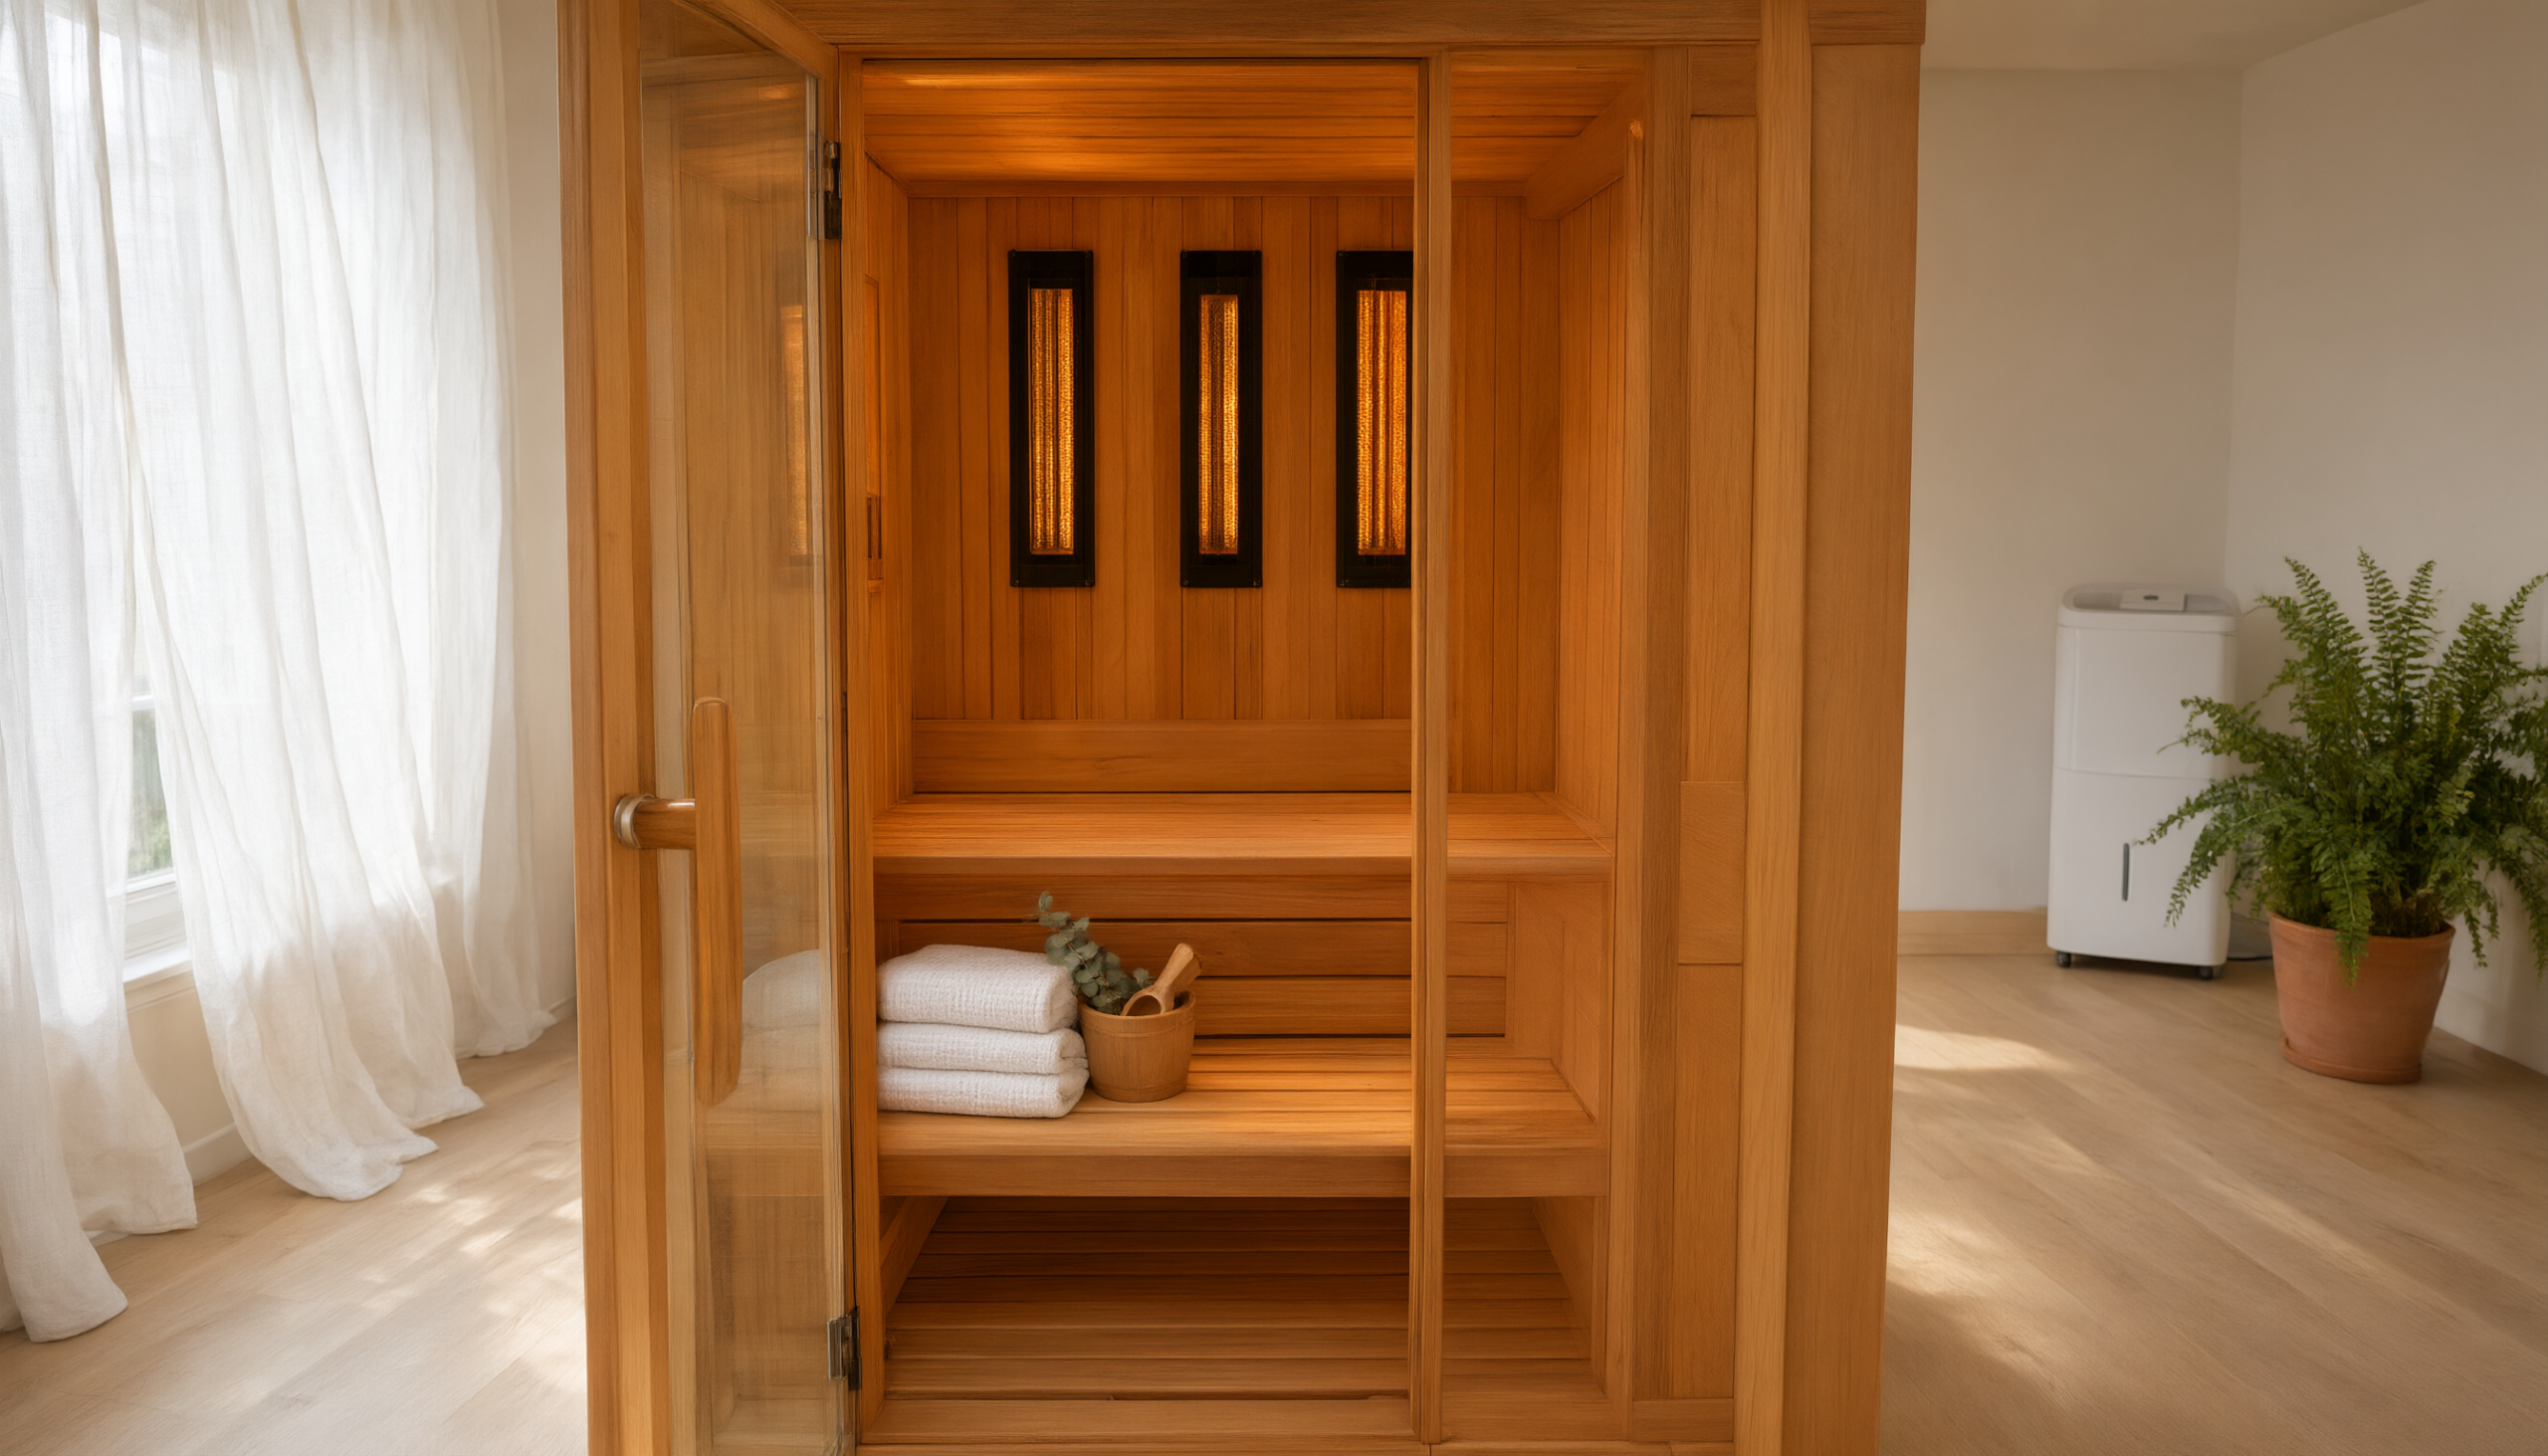
Humidity and Your Infrared Sauna: What the Room Needs
An infrared sauna is a wonderful investment in your health and home, but the room it lives in can have a surprising impact on its longevity and your comfort. Humidity is the invisible factor that can warp wood, encourage mold, and even affect how efficiently your sauna heats. Understanding what your sauna room needs—and how to achieve it—will keep your cabin clean, safe, and performing well for years.
Why Sauna Room Humidity Matters
Your infrared sauna is built primarily of wood, often cedar or hemlock, which is naturally porous and responsive to moisture in the air. When the surrounding room has consistently high humidity, that moisture can seep into the wood, causing it to swell, warp, or even crack over time. More importantly, a damp environment invites mold and mildew, which not only smell bad but can also degrade the wood and create an unhealthy breathing space inside your sauna.
Beyond the wood, humidity affects the sauna’s heating efficiency. Infrared heaters warm your body directly, but if the air inside the cabin is heavy with moisture, it can feel less comfortable and may require more energy to reach your desired temperature. Excess moisture can also settle on electrical components over time, potentially reducing their lifespan. By controlling the humidity in the room around your sauna, you protect both the structure and the electronics of your shielded home sauna cabin.
For many American homeowners, the sauna ends up in a basement, garage, or converted space—areas that are often more humid than the rest of the house. Basements, in particular, can hover at 60-70% relative humidity or higher, which is far above the ideal range for a sauna room. That’s why proactive humidity management is a core part of infrared sauna moisture care.
What Humidity Level Should You Aim For?
Most sauna manufacturers recommend keeping the room where you place your low-electromagnetic-field infrared unit at a relative humidity between 40% and 60%. This range is comfortable for humans, safe for wood, and dry enough to discourage mold growth. You can measure this easily with an inexpensive hygrometer, available at any hardware store. Place it near the sauna, not inside it, to get a true reading of the ambient room conditions.
If your reading is consistently above 60%, you’ll want to take steps to bring it down. If it’s below 40%, the air is very dry, which is less of a concern for the sauna itself but may feel uncomfortable and could dry out the wood too much, leading to shrinkage or gaps. A balanced room is the goal.
How to Control Humidity Around Your Sauna
Step-by-Step Humidity Management
- Measure first. Use a digital hygrometer to check the room’s relative humidity at different times of day and across seasons. Basements often spike in summer.
- Ventilate the space. If possible, open a window or run an exhaust fan for a few hours each day. Good airflow is the simplest way to reduce moisture buildup.
- Add a dehumidifier. For persistently damp rooms, a portable dehumidifier is the most effective solution. Place it near the sauna but not so close that it blows directly onto the wood. Set it to maintain 45-50% humidity.
- Address water sources. If your sauna is in a basement, check for leaks, condensation on pipes, or groundwater seepage. Fixing these will make humidity control much easier.
- Wipe down after use. After each sauna session, leave the door open for 15-20 minutes to let internal moisture evaporate. Then wipe down benches and backrests with a dry cloth. This prevents moisture from being trapped inside the cabin.
Common Mistakes to Avoid
- Putting the sauna in an unventilated closet or small room. Without airflow, humidity from the sauna itself (sweat, damp towels) has nowhere to go.
- Using a humidifier in the same room. Some people run humidifiers for comfort, but this directly raises the moisture level around your sauna.
- Ignoring seasonal changes. A room that’s fine in winter may become damp in summer. Monitor humidity year-round.
- Placing the sauna directly on a concrete basement floor without a moisture barrier. Concrete can wick moisture up into the sauna’s base. Use a vapor barrier or sauna mat underneath.
A dry room is a happy sauna room. Consistent humidity between 40-60% prevents mold, protects the wood, and keeps your infrared heaters running efficiently for years.
Damp Basement Sauna Care: Special Considerations
Basements are the most common location for home saunas in the United States, but they also present the biggest humidity challenge. If your sauna lives in a basement, you need to be extra vigilant. Start by checking the foundation walls and floor for signs of moisture—dark spots, efflorescence (white powdery residue), or a musty smell. If you find active water intrusion, address that before or immediately after installing your sauna. A dehumidifier is almost always necessary in a basement sauna room, even if the rest of the basement feels okay.
Consider placing a moisture barrier, like a heavy-duty plastic sheet or a purpose-made sauna floor mat, between the sauna and the concrete floor. This prevents ground moisture from wicking up into the wooden base. Also, leave at least 2-3 inches of clearance between the sauna and any exterior wall to allow air circulation behind the unit. This simple step can dramatically reduce the risk of mold on the back panels of your modern low-EMF far-infrared sauna.
Cleaning and Maintenance in a Humid Environment
Even with good humidity control, your sauna will need regular cleaning to stay hygienic. Here’s a simple checklist with typical frequencies. Always disconnect power and unplug the unit before any cleaning or maintenance task.
| Task | Typical Frequency |
|---|---|
| Wipe down benches, backrests, and floor with a dry cloth | After every session |
| Lightly sand any rough spots on wood with fine-grit sandpaper | Every 3-6 months |
| Clean interior wood with mild soap and water (damp cloth, not wet) | Monthly |
| Vacuum or sweep the sauna floor | Weekly |
| Check door seals and hinges for tightness | Monthly |
| Inspect exterior for signs of mold, mildew, or warping | Monthly |
| Replace any user-replaceable bulbs or bench boards per manufacturer instructions | As needed |
When cleaning, never use harsh chemicals, bleach, or abrasive scrubbers on the wood. A solution of warm water and a few drops of mild dish soap is usually sufficient. Always wring out your cloth well—you want it damp, not dripping. After cleaning, leave the sauna door open for a few hours to let the wood dry completely before closing it up.
When to Call a Professional
While most humidity-related care is DIY-friendly, there are times to bring in help. If you notice persistent mold growth despite your best efforts, a professional mold remediation service may be needed. If you suspect water damage has affected the sauna’s electrical components, do not attempt to open any enclosures—contact a licensed electrician or the manufacturer’s service team. Likewise, if the wood structure shows significant warping or cracking that affects the door seal or bench stability, consult the manufacturer for guidance. Your third-party-tested home sauna is an investment; professional care for serious issues protects that investment.
FAQs About Sauna Room Humidity
Can I put a dehumidifier right next to my infrared sauna?
Yes, but keep it a few feet away so the dry exhaust air doesn’t blow directly onto the wood, which could cause uneven drying. Aim the dehumidifier’s airflow away from the sauna if possible, and set it to maintain 45-50% relative humidity.
What if my sauna room is too dry?
Overly dry air (below 30-40% humidity) can cause the wood to shrink and potentially crack. If you live in a very dry climate, you can place a small bowl of water in the room (not inside the sauna) or run a humidifier in the room, but monitor humidity to keep it in the 40-60% range.
Should I leave the sauna door open or closed when not in use?
After a session, leave the door open for 15-20 minutes to let moisture escape. For daily storage, it’s generally fine to keep the door closed to prevent dust and pests, as long as the interior is dry. If your room is humid, occasionally leaving the door open can help air out the cabin.
Everyday Ownership: A Balanced Room, A Better Sauna
Managing humidity around your infrared sauna isn’t a one-time task; it’s part of the rhythm of ownership. By checking a hygrometer now and then, running a dehumidifier when needed, and keeping the space clean and dry, you’ll extend the life of your sauna and enjoy every session more. A well-cared-for sauna also holds its value if you ever decide to move it or sell your home. For more practical care tips, visit yardsauna.net, where we cover everything from cleaning to heater efficiency for modern low-EMF infrared saunas.
This article is for general informational purposes only and does not substitute for the manufacturer’s instructions or advice from a qualified technician or licensed electrician. Always disconnect power before servicing your sauna, follow the manual that came with your unit, and refer any electrical, heating-element, or structural repairs to qualified professionals.