How to Install a 2-Person Infrared Sauna: Step-by-Step Guide
Bringing a two-person infrared sauna into your home is a rewarding project that can turn an unused corner into a daily wellness retreat. With the right preparation and a tool-light assembly system, most homeowners can complete the setup in under an hour. This guide walks through each stage of installing the YardSauna Forest 2-Person Indoor Far Infrared Sauna Cabin — from choosing the perfect spot to plugging it in for the first time.
Why the YardSauna Forest 2-Person Sauna Is a Smart Choice for Homeowners
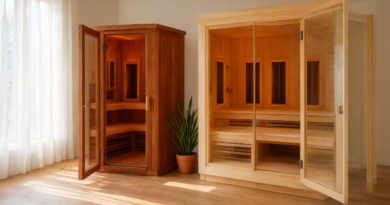
The YardSauna Forest is a compact, 2-person far infrared sauna cabin handcrafted from 100% Grade-A Canadian Hemlock. Its ultra-low EMF carbon heating panels provide deep-penetrating warmth, and the unit is independently lab-tested for safe daily use. At 47.2 inches wide by 41.3 inches deep and 74.8 inches tall, it fits comfortably in a master suite, home gym, or spacious walk-in area. The cabin includes Bluetooth audio, dual stereo speakers, ambient LED lighting, and built-in ventilation for a spa-like experience. Priced at $5,888, it is an investment in long-term home wellness, and the tool-light clasp-lock assembly means you can be enjoying your first session in under 60 minutes.
Pre-Installation Planning: Space, Floor, and Electrical Requirements
Before the sauna arrives, take time to assess your space and prepare the installation site. A little planning prevents headaches later and ensures the sauna performs safely and efficiently.
Choosing the Right Location
Select a dry, level surface with enough clearance for the sauna’s footprint: 47.2 inches by 41.3 inches. You will need additional room around the unit for assembly and for opening the door fully. A spare bedroom, basement corner, or dedicated wellness room works well. Avoid areas with high humidity, such as directly next to a shower, unless the room is well ventilated. The sauna should sit on a hard, flat floor — hardwood, tile, laminate, or concrete are all suitable. Carpet is acceptable if it is low-pile and the sauna is placed on a protective mat to prevent moisture buildup.
Electrical Considerations
The YardSauna Forest runs on a standard 110V-120V / 15A household outlet. No dedicated circuit or electrician is required for basic operation. However, the outlet should be grounded and located within reach of the sauna’s power cord. Avoid using extension cords; if the cord cannot reach, have a qualified electrician install an outlet closer to the sauna. Always plug the sauna directly into a wall outlet, and do not share the circuit with other high-draw appliances like space heaters or treadmills.
Ventilation Needs
Infrared saunas do not produce steam, but they do generate heat and some perspiration. The YardSauna Forest includes built-in ventilation, but the room itself should have adequate airflow. A small window that can be opened, an exhaust fan, or simply leaving the door ajar during use will help maintain comfort and prevent moisture accumulation. If the sauna is in a closet or very small room, consider adding a vent to the door or wall.
Step-by-Step Assembly Guide for the YardSauna Forest
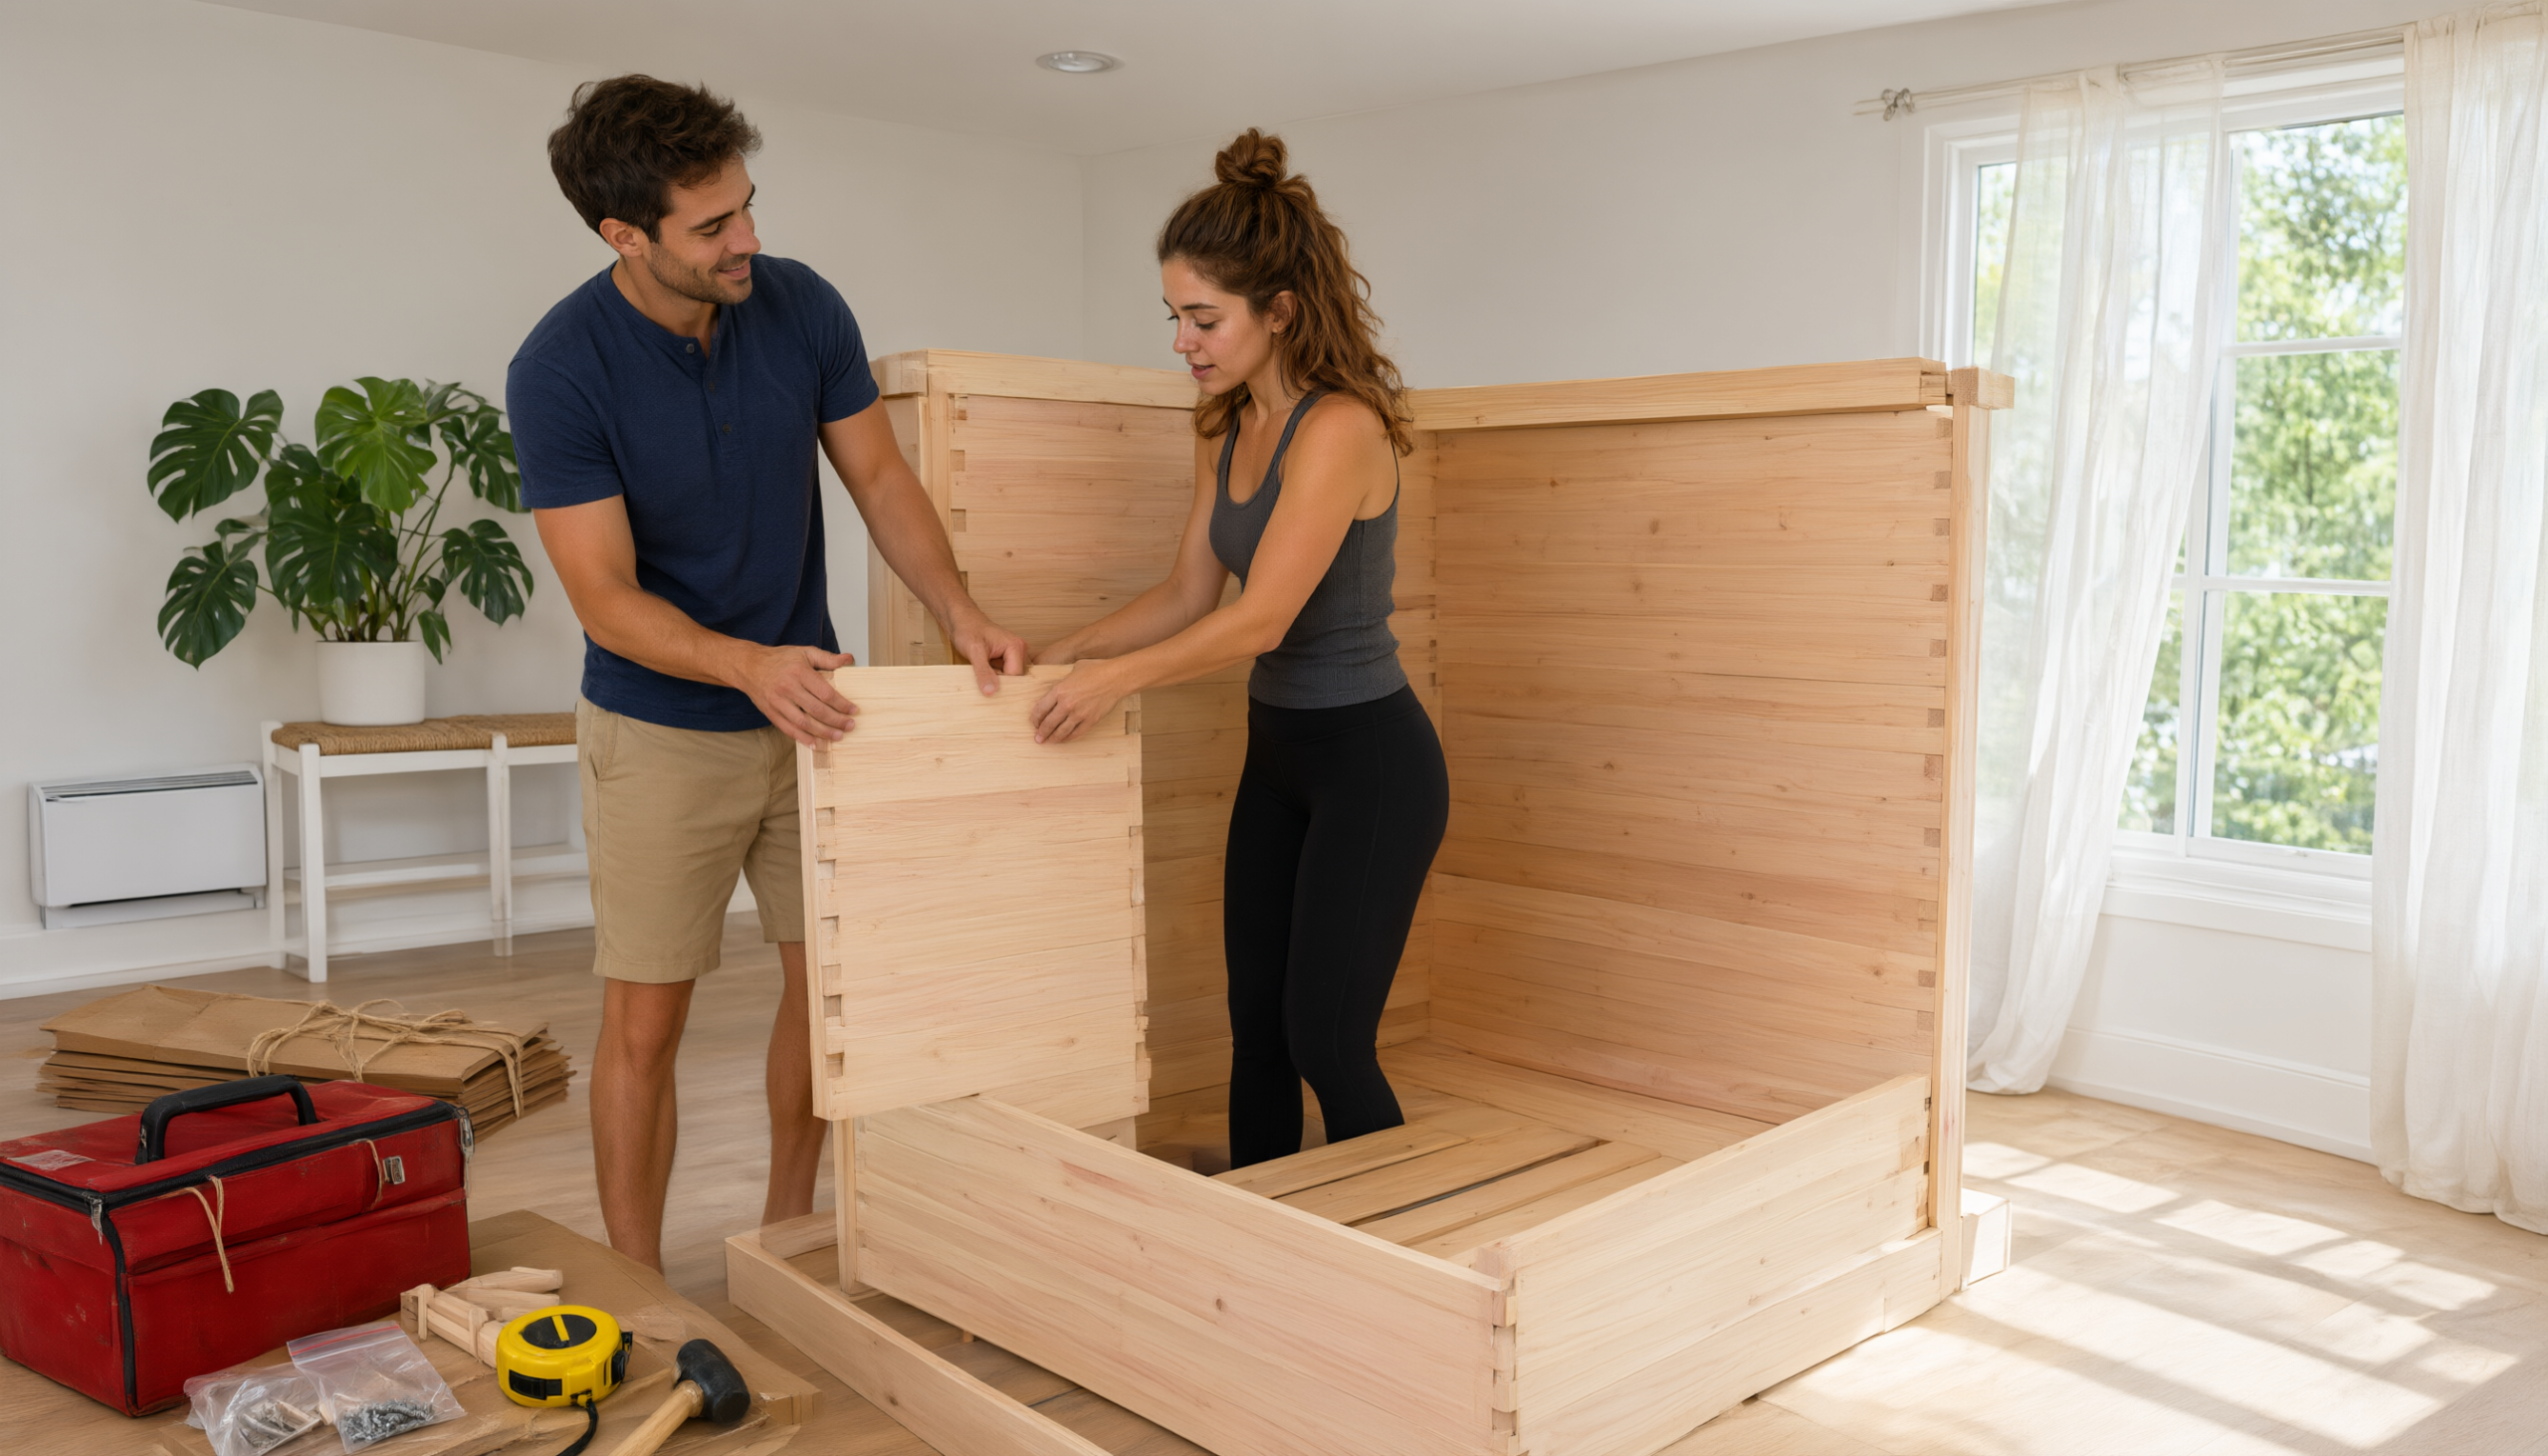
The Forest’s clasp-lock design means you need only a Phillips screwdriver and a friend to help lift panels. No power tools, no glue, no complicated joinery. The entire process typically takes 45 to 60 minutes for two people.
Unboxing and Inventory
Carefully unpack all components and lay them out in the assembly area. The kit includes:
- Floor panel
- Back panel
- Two side panels
- Front panel with door
- Roof panel
- Interior divider
- Bench and bench support
- Door handle
- Hardware kit (screws, latches)
- Power cord and connectors
Check that nothing is damaged or missing before you begin. Keep the packaging until the sauna is fully assembled and tested.
Step 1: Position the Floor Panel
Place the floor panel in the exact spot where the sauna will live. Ensure it is level; use shims if necessary. The floor panel has grooves that align with the wall panels, so orientation matters — look for the labels or notches.
Step 2: Attach the Back and First Side Panel
Set the back panel on the rear edge of the floor panel. Then fit the first side panel against the floor and back panel, making sure it sits flush. Lock the exterior latches to hold the panels together. These latches are the clasp-lock mechanism that makes assembly tool-free for most connections.
Step 3: Install the Interior Divider and Bench Support
Slide the interior divider into its groove between the back and side panels. This divider separates the two seating areas and provides structural support. Position the bench support and fasten it with the long screws from the kit using your Phillips screwdriver. Then connect the plug from the bench support to the corresponding outlet inside the sauna — this powers the heating elements under the bench.
Step 4: Add the Bench and Second Side Panel
Slide the bench onto the bench support. It should fit snugly. Then fit the second side panel, ensuring the divider stays inside its groove. Lock the latches on this side as well. At this point, your sauna should look like a three-sided box with a floor and bench.
Step 5: Install the Door Handle and Front Panel
Attach the door handle to the front panel according to the instructions. Bring the front panel into place, aligning it with the floor and side panels. Lock the latches on both sides. The front panel includes the door, which should swing freely and close securely.
Step 6: Connect the Roof and Cables
Pull the wall cables outward so the roof can sit flat. Set the roof on top of the sauna, then connect each wall cable to its matching port on the roof. These connections power the upper heating panels, lighting, and control panel. No electrician is required — the connections are plug-and-play.
Step 7: Final Checks and First Power-Up
Once all latches are locked and cables connected, do a visual inspection. Make sure the door opens and closes smoothly, the bench is stable, and the interior lighting works. Plug the sauna into your wall outlet and turn on the power. The control panel should light up, and you can set the temperature and timer for your first session.
Placement Tips for Optimal Performance and Comfort
Where you put your sauna affects not only convenience but also heating efficiency and longevity. Here are practical tips for getting the most out of your YardSauna Forest:
- Keep it away from exterior walls if possible. Interior walls are better insulated, reducing heat loss and helping the sauna reach temperature faster.
- Leave 2-3 inches of clearance behind and beside the sauna. This allows air to circulate around the heating panels and prevents overheating of the wood.
- Protect the floor. Place a sauna mat or a piece of plywood under the unit if it sits on carpet or delicate flooring. The sauna’s weight is modest, but moisture from perspiration can damage some surfaces over time.
- Consider privacy and noise. The sauna has Bluetooth speakers, so you may want it in a room where you can relax without disturbing others. A spare bedroom or basement den works well.
One of the biggest advantages of the YardSauna Forest is its plug-and-play design. You do not need to hire a contractor or electrician — just a friend, a screwdriver, and about an hour of your time. That makes it one of the most accessible home sauna installations on the market.
Ventilation and Airflow: Keeping Your Sauna Fresh
Even though infrared saunas operate at lower temperatures than traditional steam saunas, proper ventilation is still important. The YardSauna Forest includes built-in ventilation, but you can enhance airflow with these simple steps:
- Open the sauna door after each session. This allows moisture to escape and prevents musty odors.
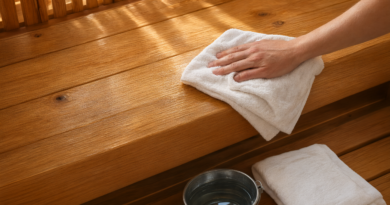
- Wipe down interior surfaces with a dry cloth. Remove sweat and condensation to keep the hemlock wood clean and odor-free.
- Run a small fan in the room for 15-20 minutes after use. This helps circulate air and dry out the space.
- If the room has no windows, consider a dehumidifier. Especially in humid climates, a dehumidifier will protect both the sauna and the room from excess moisture.
By following these habits, you will keep your sauna in top condition for years to come.
Background: The Rise of Home Infrared Saunas
Infrared saunas have grown in popularity over the past two decades as homeowners seek convenient ways to relax and recover without the high heat of traditional saunas. Unlike Finnish-style saunas that heat the air to 180°F or more, infrared saunas use carbon or ceramic panels to emit far infrared light that directly warms the body. This allows for a comfortable session at lower temperatures, typically between 110°F and 140°F. The compact footprint and plug-in electrical requirements of modern infrared saunas have made them accessible to apartment dwellers and suburban homeowners alike. The YardSauna Forest is part of this new generation, offering a balance of quality materials, low EMF technology, and easy assembly.
How the Clasp-Lock System Works
The YardSauna Forest uses a clasp-lock assembly system that eliminates the need for screws or brackets on most panel connections. Each panel edge has pre-installed metal latches that hook onto corresponding catches on the adjacent panel. When you press the panels together and flip the latch down, it pulls the joint tight and locks it in place. This system is not only fast but also sturdy — the panels stay firmly connected even with daily use. The only screws required are for the bench support, which is why a Phillips screwdriver is the sole tool needed.
Practical Tips for a Smooth Installation Day
- Recruit a helper. The panels are large but not heavy; however, two people make alignment much easier, especially for the roof.
- Clear a wide work area. You will need space to lay out panels and move around the sauna as you assemble it.
- Read the manual first. Even though the process is intuitive, familiarizing yourself with the parts and steps will save time.
- Test the outlet before you start. Plug in a lamp or phone charger to confirm the outlet is live.
- Keep the packaging until the end. If you need to return or exchange a part, having the original box and foam is essential.
Video Walkthrough: See the Assembly in Action
YouTube: HH INSTALLATION VIDEO – Far Infrared 2 Person Sauna – Step-by-step assembly guide
This video from Heavenly Health demonstrates the entire assembly process for a two-person far infrared sauna. The presenter walks through each step, from laying the floor panel to connecting the roof cables, emphasizing that only a Phillips screwdriver is needed. You will see how the clasp-lock latches secure the panels and how the bench and divider fit together. The video also highlights the plug-and-play electrical connections, showing that no electrician is required. It is a helpful visual companion to the written instructions, especially for first-time builders.
Closing Summary: Is the YardSauna Forest Right for You?
Installing a two-person infrared sauna does not have to be complicated. The YardSauna Forest 2-Person Indoor Far Infrared Sauna Cabin offers a straightforward, tool-light assembly that most homeowners can complete in under an hour. Its compact size, low EMF heating, and built-in conveniences like Bluetooth audio and LED lighting make it a practical addition to any home. At $5,888, it is a considered purchase, but the quality of the Canadian Hemlock construction and the ease of installation add real value. If you are ready to create a personal wellness space without a major renovation, this sauna is worth a close look. This article is for informational purposes only.
Frequently Asked Questions
1. How long does it take to assemble the YardSauna Forest 2-Person Sauna?
With two people, assembly typically takes 45 to 60 minutes. The clasp-lock system eliminates most screws, and the only tool required is a Phillips screwdriver for the bench support.
2. Do I need an electrician to install the YardSauna Forest?
No. The sauna plugs into a standard 110V-120V / 15A household outlet. All internal wiring is pre-connected, and you simply plug the wall cables into the roof ports during assembly.
3. What are the exact dimensions of the YardSauna Forest?
The sauna measures 47.2 inches wide by 41.3 inches deep by 74.8 inches tall (120 x 105 x 190 cm). Make sure your chosen location has enough clearance for the door to open fully.
4. Can I install the sauna on carpet?
Yes, but it is best to place a protective mat or a piece of plywood under the sauna to prevent moisture from perspiration from damaging the carpet over time. Low-pile carpet is preferable.
5. Does the sauna require special ventilation?
The sauna has built-in ventilation, but the room should have some airflow. Opening a window or running a fan after use helps keep the space fresh. Avoid installing in a completely sealed closet.
6. How many people can use the YardSauna Forest at once?
It is designed for two people. The interior has two bench seats separated by a divider, allowing two adults to sit comfortably side by side.
7. What is the power consumption of the sauna?
The sauna operates on a standard 15-amp circuit at 110-120 volts. It is energy efficient compared to traditional saunas, and most homeowners see only a modest increase in their electric bill with regular use.
8. Is the YardSauna Forest low EMF?
Yes. The carbon heating panels are ultra-low EMF and independently lab-tested for safe daily use. This makes it a good choice for those concerned about electromagnetic exposure.
9. Can I move the sauna after assembly?
It is possible but not recommended. The sauna is heavy and the clasp-lock panels are designed to stay together. If you must move it, disassemble the roof and side panels first, and always have two people lift each piece.
10. What kind of maintenance does the sauna require?
Minimal maintenance is needed. Wipe down the interior with a dry cloth after each use, leave the door open to air out, and occasionally clean the wood with a mild soap solution. Avoid harsh chemicals.
For more on low-EMF home infrared saunas and the models we offer, visit yardsauna.com.
This article is for informational purposes only and does not constitute medical advice. Always consult a qualified healthcare provider before starting any new wellness routine, especially if you have pre-existing conditions or are pregnant.