
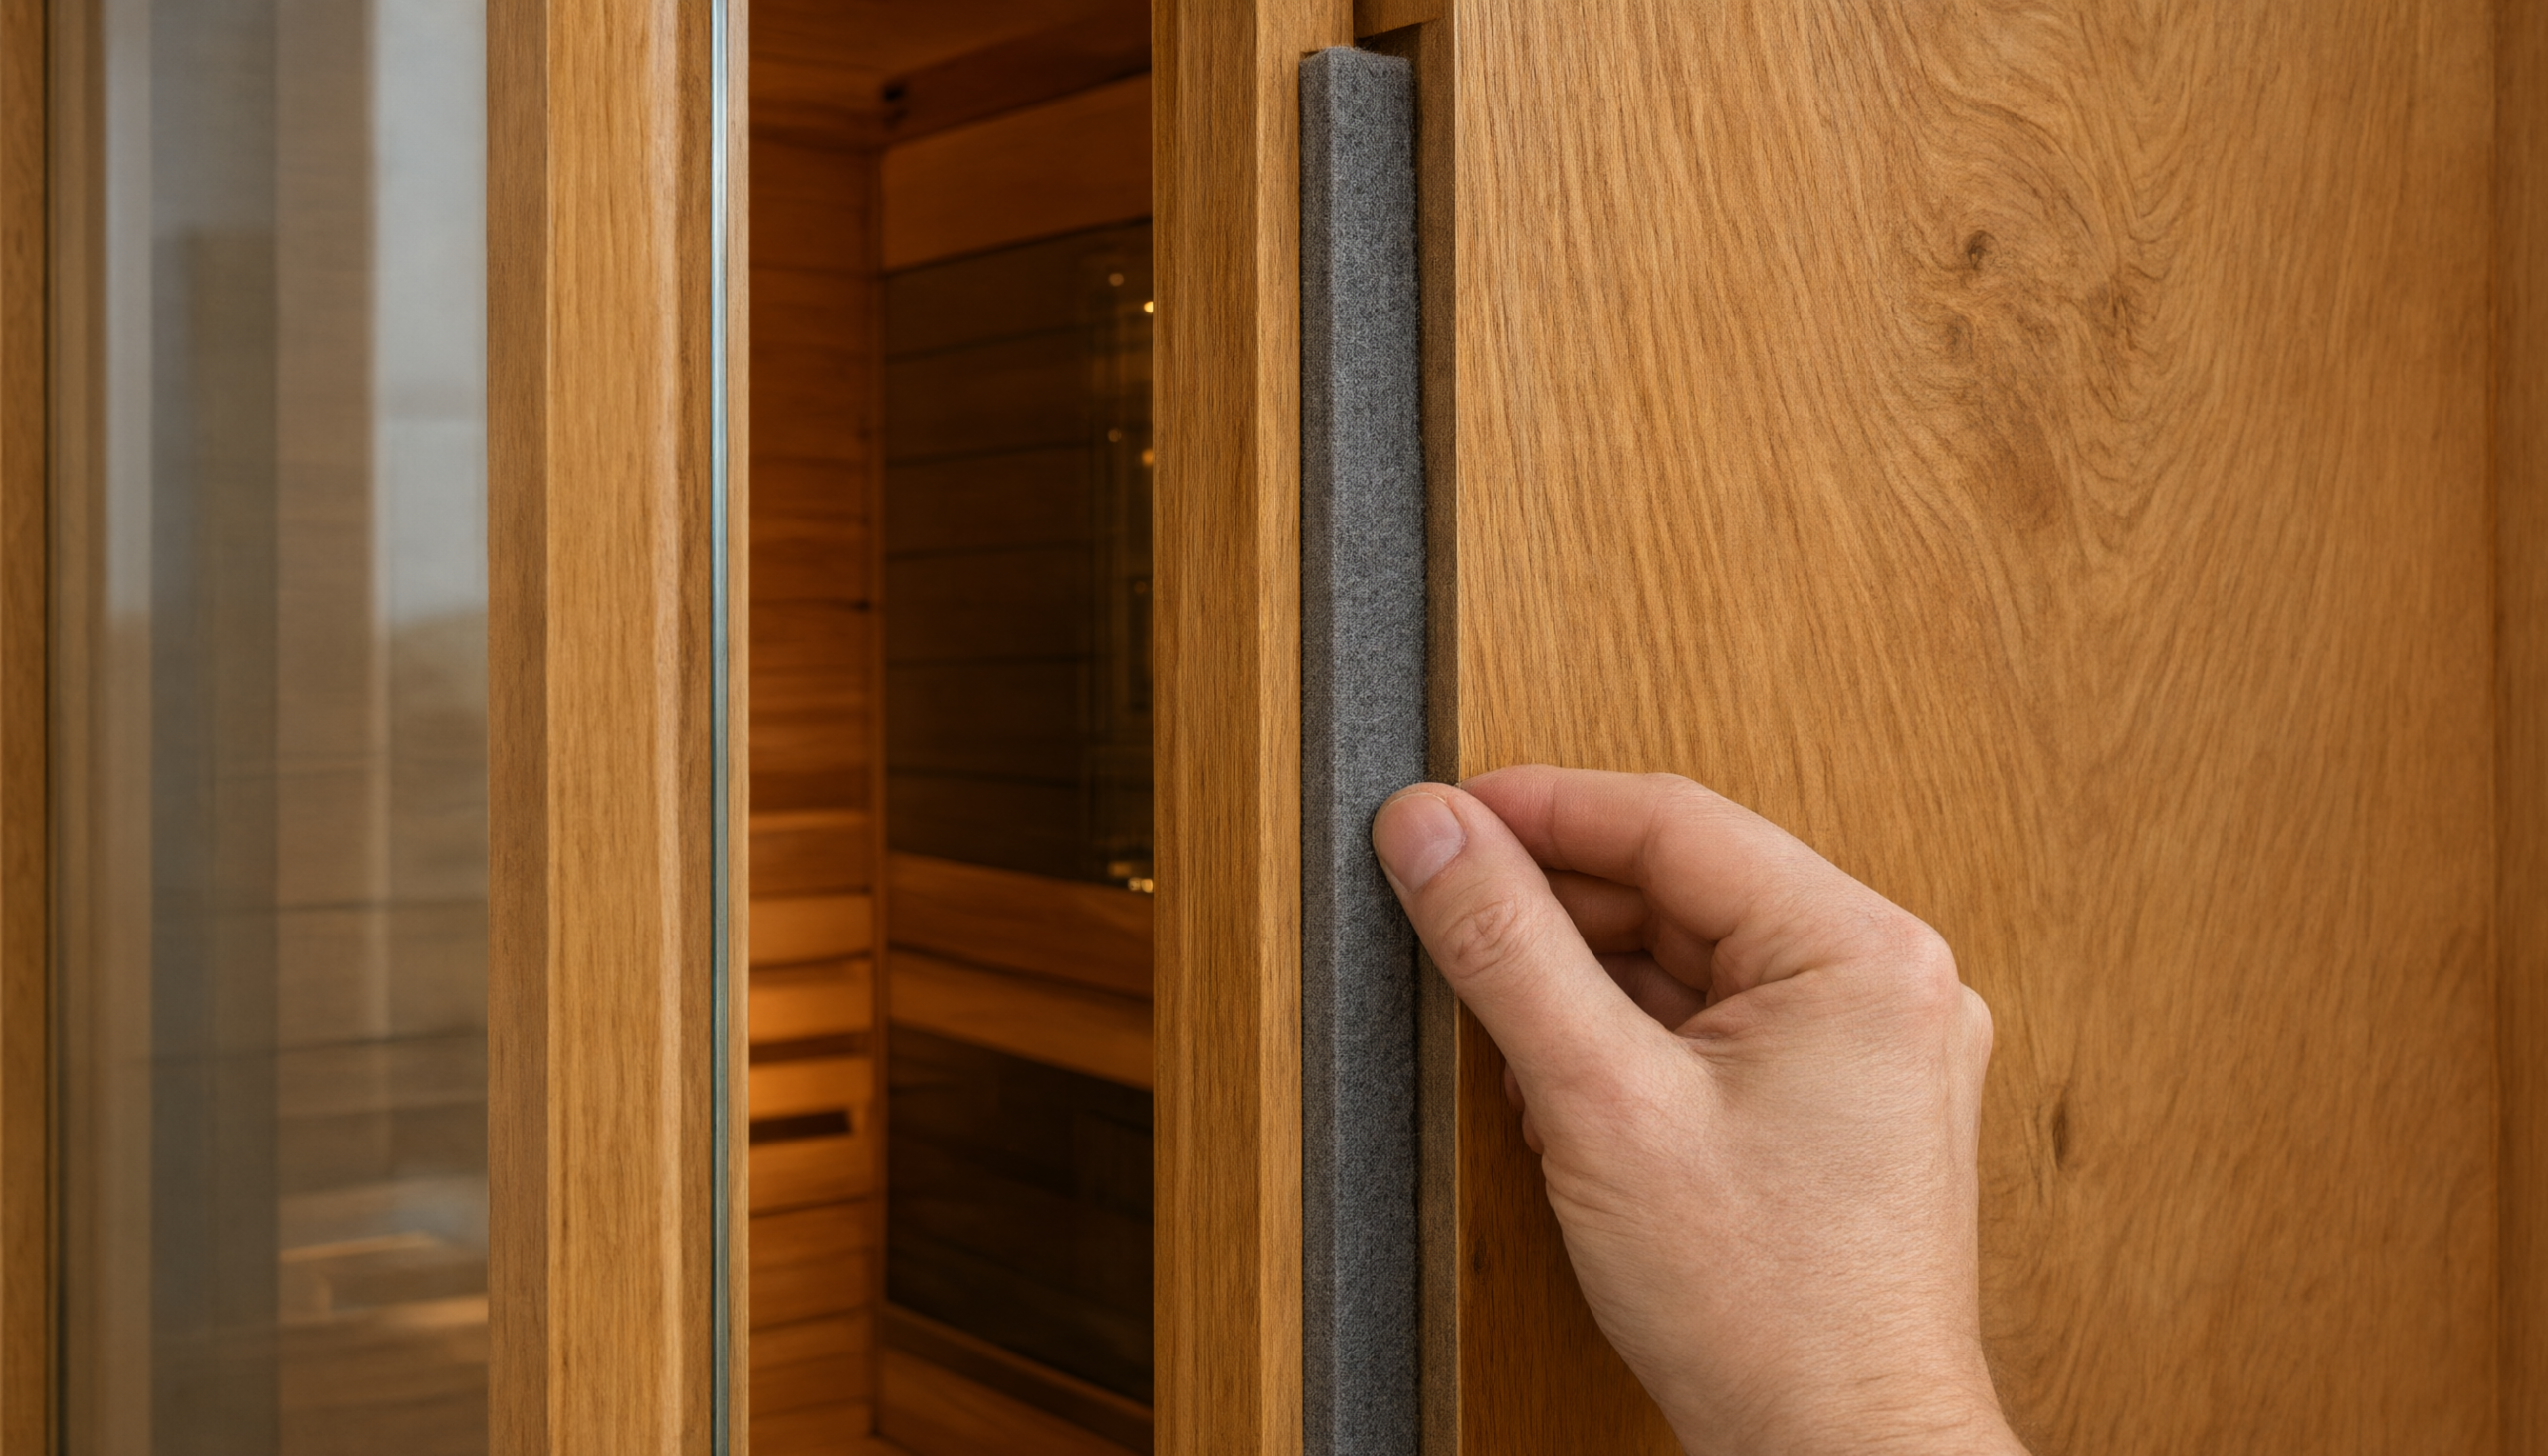
Fix Sauna Door Heat Loss with a Simple Felt Seal Replacement
A home infrared sauna is only as good as its seal. If you notice cold drafts around the door or a temperature drop near the glass, you are likely losing heat through a worn or compressed felt weather stripping. Replacing that seal is one of the simplest, most effective maintenance tasks you can do to restore efficiency and comfort.
This guide walks you through diagnosing a door seal problem, choosing the right replacement material, and installing it safely. You will also learn how to maintain the seal over time and when to call in a professional.
Why a Sauna Door Seal Matters
The door is the largest moving part of any sauna, and it is also the most common place for heat to escape. A proper seal keeps hot air inside, reduces energy consumption, and prevents cold drafts from disrupting your session. Over time, the original felt strip can compress, peel away, or lose its adhesive, especially in corners where the wood may flex or where the door does not close perfectly square.
Infrared saunas rely on consistent air temperature to deliver their therapeutic benefits. Even a small gap can cause a noticeable drop in temperature near the door, forcing the heater to work harder and shortening its lifespan. Replacing the seal is a low-cost fix that can make a big difference.
How a Felt Seal Works
Felt weather stripping is a soft, compressible material that fills the gap between the door and the frame. When the door closes, the felt compresses slightly, creating a barrier against air movement. The key is that the felt must be thick enough to make contact with the glass or wood door along its entire length, but not so thick that it prevents the door from closing or latching properly.
Most home infrared saunas use a self-adhesive felt strip that is pressed into a groove or onto the flat surface of the door frame. Over time, the adhesive can dry out, and the felt can become permanently flattened. When that happens, cold air finds its way in, and your sauna loses heat.
Diagnosing a Door Seal Problem
Before you order replacement felt, confirm that the seal is actually the problem. Here are the signs to look for:
- You feel a cold draft when you run your hand along the door seam while the sauna is on.
- You see visible gaps between the door and the frame, especially in corners.
- The existing felt is flattened, torn, or peeling away from the wood.
- Your infrared thermometer shows a significant temperature drop near the door compared to the rest of the cabin.
If you notice any of these, a felt replacement is likely the right fix. Always check your owner manual first to see if the manufacturer recommends a specific type or thickness of weather stripping.
Step-by-Step Felt Seal Replacement
Replacing the felt seal is a straightforward DIY task that most homeowners can complete in under an hour. Follow these steps carefully, and always refer to your sauna’s manual for any model-specific instructions.
- Turn off and cool down the sauna. Never work on a hot sauna. Let the unit cool completely before you begin.
- Remove the old felt. Start at one end and gently peel the old strip away from the wood. If it resists, use a plastic scraper to lift an edge. Avoid metal tools that could scratch the wood.
- Clean the surface. Wipe the area with a dry cloth to remove any dust or adhesive residue. If needed, use a mild cleaner recommended by the manufacturer, then let the surface dry completely.
- Measure and cut the new felt. Measure the length of the door frame where the seal sits. Cut the new felt to length with scissors, leaving a little extra if you need to trim later.
- Peel the backing and apply. Start at one corner and press the adhesive side firmly into the groove or onto the flat surface. Work your way along the frame, pressing as you go to ensure full contact.
- Test the door fit. Close the door and check that the felt compresses evenly. If the door is too tight or does not latch, you may need a thinner felt or to reposition the strip.
- Check for gaps. Run your hand along the seam again. If you still feel a draft, you may need to add a second layer or adjust the door hinges according to the manual.
Replacing a worn door seal can reduce heat loss by several degrees and make your sauna noticeably more comfortable, especially in colder months.
Choosing the Right Replacement Felt
Not all felt weather stripping is the same. Look for a self-adhesive felt strip that is at least as thick as the original, and preferably slightly thicker to compensate for any wood warping or uneven gaps. The felt should be soft and compressible, not stiff or plastic-like. Avoid foam tapes that can melt at high temperatures; felt is designed to handle the heat inside a sauna.
Check your owner manual for any specific recommendations. If the manual does not specify, a general-purpose felt weather stripping from a hardware store will usually work, but always verify the temperature rating before installing.
Maintaining Your Sauna Door Seal
Once you have a new seal in place, keep it in good condition with a few simple habits:
- Inspect the felt every few months for signs of wear or peeling.
- Clean the seal gently with a dry cloth; avoid harsh chemicals that can break down the adhesive.
- Close the door gently to avoid crushing the felt over time.
- If you notice the door becoming harder to close, check for felt that has shifted or bunched up.
When to Call a Professional
Replacing the felt seal is a safe DIY task, but if you notice that the door itself is warped, the hinges are loose, or the frame is out of square, you may need professional help. A misaligned door will continue to leak heat no matter how good the seal is. In that case, contact the sauna manufacturer or a qualified technician who can adjust the door or replace hardware. Do not attempt to sand or plane the door yourself, as this can void the warranty and damage the wood.
Practical Safety Checklist
Before you start any sauna maintenance, run through this quick checklist:
- Unplug the sauna or turn off the circuit breaker to eliminate any electrical risk.
- Let the sauna cool completely to avoid burns.
- Work in a well-lit area so you can see the seal clearly.
- Keep the owner manual nearby for reference.
Background: The Evolution of Sauna Door Seals
Traditional saunas often relied on simple wooden doors with no seal at all, allowing heat to escape freely. As home infrared saunas became more popular, manufacturers added felt weather stripping to improve energy efficiency and comfort. Today, most models come with a basic felt strip, but many owners find that upgrading to a thicker, higher-quality felt makes a noticeable difference. This simple upgrade has become a common first project for new sauna owners who want to get the most out of their investment.
How Heat Loss Affects Your Sauna
Infrared saunas heat the body directly through radiant panels, but the air temperature still matters for overall comfort. When cold air leaks in through the door, it creates a draft that can make your session feel less effective and force the heater to run longer. Over time, this extra runtime can shorten the life of the heating elements and increase your electricity bill. A tight door seal keeps the warm air in and the cold air out, so your sauna works as designed.
Common Mistakes to Avoid
When replacing the felt, avoid these pitfalls:
- Using a felt that is too thin, which will not fill the gap.
- Stretching the felt as you apply it, which can cause it to pull away later.
- Applying the felt to a dirty or damp surface, which weakens the adhesive.
- Cutting the felt too short, leaving a gap at the corner.
Take your time and press firmly along the entire length. A careful installation will last for years.
Closing Summary: A Small Fix with Big Rewards
Replacing a worn sauna door seal is one of the easiest ways to improve your sauna’s performance and comfort. With a few dollars of felt and less than an hour of work, you can stop heat loss, reduce drafts, and extend the life of your heater. Always follow the manufacturer’s instructions and your owner manual, and never hesitate to call a professional if the door itself is damaged or misaligned.
This article is for informational purposes only and does not constitute professional maintenance advice. Always consult your sauna’s manual and a qualified technician for any repairs beyond simple felt replacement.
Video walkthrough: replacing a sauna door felt seal on camera
YouTube: This Simple Door Seal Fixed My Sauna's Heat Loss – felt seal replacement demo
In this on-camera demonstration, the presenter starts by showing a sauna that has been running for about an hour, with an interior temperature of 58 degrees Celsius. Using an infrared thermometer, he identifies a 10-degree temperature drop near the door corner and feels a cold draft along the seam. He then compares the original thin felt strip to a new, thicker replacement and walks through the removal and installation process step by step. After applying the new felt, he closes the door and confirms that the glass now makes full contact with the seal, eliminating the draft. The video also shows how to replace the felt on the bottom and striker side of the door for a complete fix.
Frequently Asked Questions
1. How do I know if my sauna door seal needs replacing?
Look for visible gaps, feel for cold drafts along the door seam, or use an infrared thermometer to check for a temperature drop near the door. If the felt is flattened, torn, or peeling, it is time to replace it.
2. What type of felt should I use for a sauna door?
Use a self-adhesive felt weather stripping that is heat-resistant and at least as thick as the original. Check your owner manual for any specific recommendations, and avoid foam tapes that can melt.
3. Can I replace the felt seal myself?
Yes, replacing the felt is a simple DIY task. Just make sure the sauna is cool and unplugged, remove the old felt, clean the surface, and press the new felt firmly into place.
4. How often should I inspect the door seal?
Inspect the seal every three to six months, or whenever you notice a change in sauna performance. Regular checks help you catch wear before it becomes a bigger problem.
5. What if the door still leaks after replacing the felt?
If you still feel a draft, the door may be misaligned or warped. Check the hinges and frame, and consult a professional if needed. Do not sand or plane the door yourself.
6. Can I use a different material instead of felt?
Felt is the standard for sauna doors because it handles high heat well. Avoid rubber or foam, which can degrade or melt. Stick with a heat-resistant felt recommended for saunas.
7. How do I clean the felt seal?
Wipe the felt gently with a dry cloth to remove dust. Avoid water or cleaning chemicals, which can break down the adhesive and cause the felt to peel.
8. Will a thicker felt make the door hard to close?
It might at first, but the felt will compress over time. If the door is very hard to close or latch, you may need a slightly thinner felt or to adjust the door hinges according to the manual.
9. Is it safe to work on the sauna door while it is warm?
No, always let the sauna cool completely before working on it. The metal and glass surfaces can cause burns, and the adhesive on the new felt will not stick properly to a warm surface.
10. Can a bad door seal damage my sauna?
Over time, a leaking door can cause the heater to run longer and work harder, which may shorten its lifespan. Fixing the seal is a simple way to protect your investment.
For more on low-EMF home infrared saunas and the models we offer, visit yardsauna.com.
This article is for informational purposes only and does not constitute professional maintenance advice. Always follow the manufacturer instructions, consult a licensed electrician or qualified technician for any electrical or structural work, and unplug the sauna before cleaning or servicing.